Hey you all! Hope you enjoyed your holiday weekend and got lots of things done!....unlike me :) lol. In my defense, I would have gotten a lot more stuff done had it not been for the weather. Its an excuse...albeit not a good one, but still one. ;)
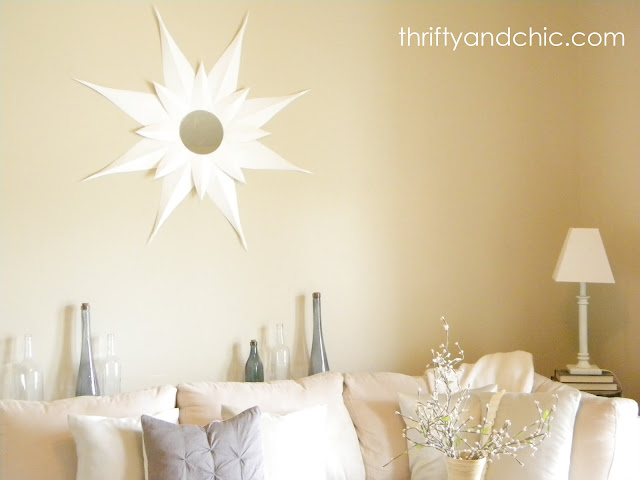
Okay, so as promised, here's the how to on my sunburst mirror that I made for my front room.
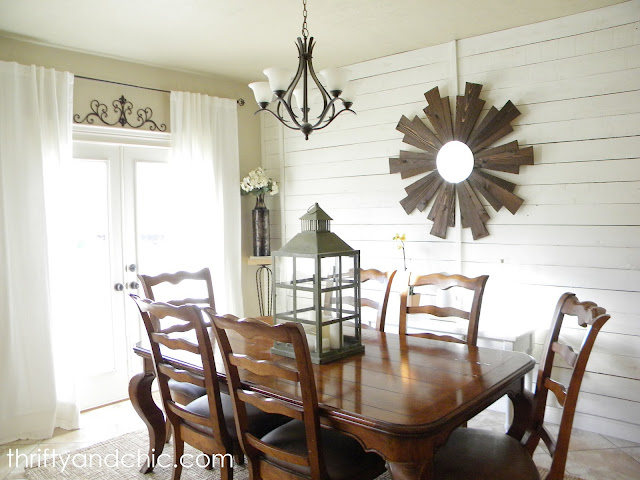
I kind of took two projects and placed them into one. First was this wood sunburst mirror I made last year.
I loved it in here, but on a whim, I moved it into my dining room. As I said before, the mirrors that were hanging on the planked walls were just too much white on white. I thought this added the perfect amount of contrast and the size was perrrrfect :)
Can you see where I am going? Put the wood sunburst mirror together with the paper flowers...and what do you get?? :) Exactly.
Okay. So to start. I got some posterboard from the store. This was 30 cents for each sheet. Traced straight lines every 4 inches for the smaller rays, and every 6 inches on a separate piece of posterboard for the larger rays. I then found the center on the top of each section..marked at 2 inches and then 3 inches for the larger ones.
I then free handed the first ray. Going from the bottom corner of one end, curving it a little to meet the middle mark at the top, then did it again on the other side. Once I was happy with the shape of the first ray, I used that one as a guide for the next rays, and traced it.
I then cut all the rays out and folded them down the middle. For the smaller rays, I then cut them a little shorter as shown below. If you fold it in half, you just have to cut once and get mirror images on both sides.
Then I had some fun left over stuff. I played around with the idea of make a sunburst mirror just out of these. I don't hate it...but it was too dinky for me.. lol
Now with the longer rays:
Now that I had it all laid out, next was to transfer that upside down. I started with the short rays. Glued the first one onto the mirror. Then lined up the next one perpendicular to that one. Glued it on. and so on and so forth until I finished the 'circle'. I think I used 4 rays on this first layer. Next was to add the second layer. I glued on the smaller rays once again onto the top of the already glued rays in between the gaps. Make sense?
Next was for the big rays. I just line them up between the gaps of the smaller rays and glued them.
Then to hang the piece, I gorilla glued a d-ring onto the back.
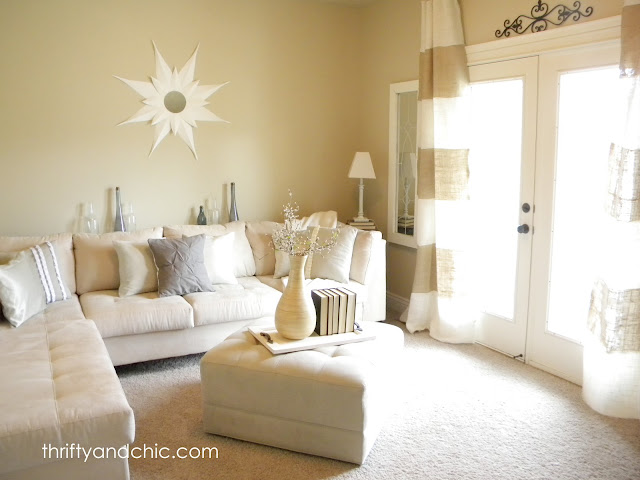
And there you go. A cheap and easy way to add a little art :) I'm loving how this room is turning out...a little nautical...but not too much...just enough to give you an idea :)


Very cute idea!
ReplyDeleteHow fun..so good ..!
ReplyDeleteSo simple, but what a statement! Love it
ReplyDeleteBeautiful, it is so pretty, but simple too. Very cool!
ReplyDeleteI LOVE your stuff - I can certainly see why you have so many followers - of which I am your newest!! LOVE your stuff.
ReplyDelete