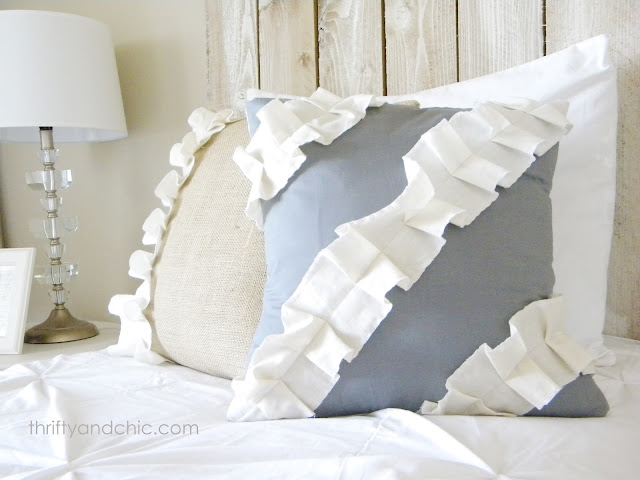
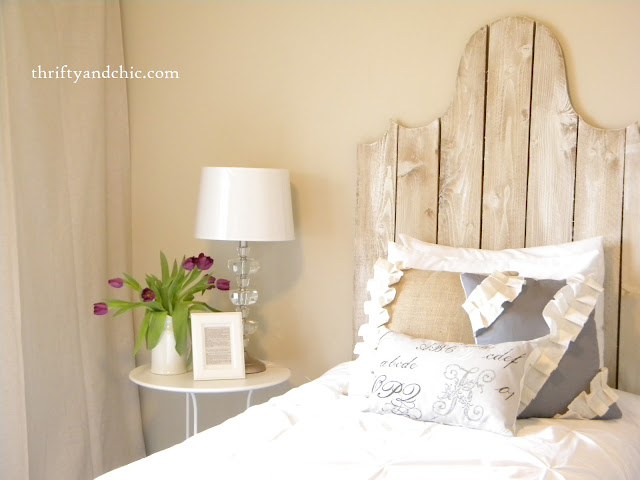
A while back when I was redoing my office/guest room, I ended going for a romantic-esque feel. Didn't real mean too, just the visions that popped in my head happened to portray that. One of the things that lent itself to create that look were the ruffle pillows.
I usually make most of my pillow covers using my Sew Easy 10 Minute Pillow Cover tutorial. Its super quick, simple and cheap. But I decided to try a different version this go around. This new way just added two extra seams to sew. But saved using so much of the main fabric. So that's way nice. Especially when you only have a scrap piece that's not big enough to go around the whole pillow. Second especially if the fabric is really expensive. Why cover the backside that no is going to see anyway? Right?
So, first things first. Get two pieces of coordinating fabric. The back piece I used was muslin. Have the back piece be a bit longer than the front piece since this is where you'll do the envelope enclosure. I made the back piece about 6 or 7 inches longer than the pillow.
I then cut it in half. Pinned down one side of each piece and threw the pillow back on top to see how it fit. Perfect.
Next is to sew the flap that was pinned.
Okay. Now put those pieces to the side, next is to work on the front piece. If you just want a plain cover without any embellishments, you can skip this next step. But for ever pillow, embellishment or not, you want the front piece to have about an inch or so edge around the pillow when you place the pillow on top of it. You can get the idea from the tutorial I referred to earlier (click here).
So, for one of the pillows I used burlap, the other I used a greyish blue fabric. To get this 'ruffle' I used scrap pieces of muslin about 4 inches wide. You'll have to gauge how long you need in comparison with the amount of ruffle you use. I would say my pieces were about twice as long as the pillow.
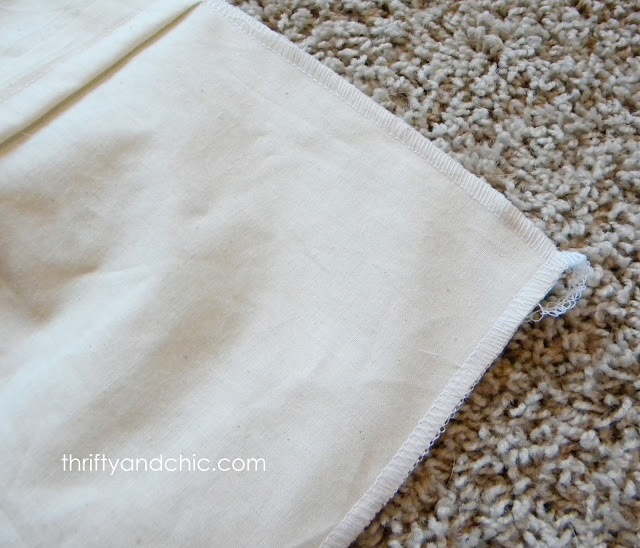
If you have a serger, this is the perfect opportunity to serge the edges for a clean, finished look.
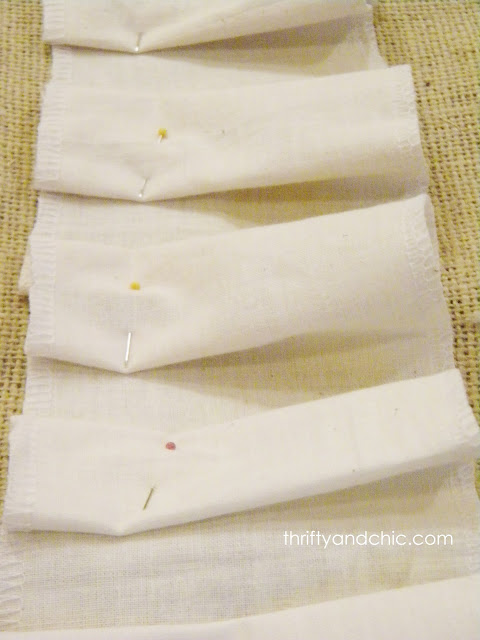
Next is to start pinning. I folded over the muslin one way, and then about half an inch or so later, folded it back the other way. I did this from end to end.
Now sew down the middle of the ruffle.
I did just a straight line on the burlap pillow and three diagonal lines on the the blueish pillow.
Now, lay down your finished front piece of fabric face up. Place your two cut back pieces face side down on top of the front piece. So essentially these are both outside facing in towards each other.
Line up the sides and pin.
You can either sew the seams from here or use the serger. I used my serger cuz ....well, its just fun :)
Now turn them inside out, put a pillow in them and there you go!
I love this project because I used only scrap pieces of fabric. It can't get better than that. This small pillow was made using the same technique sans the ruffles. It was a scrap piece that was left over from this chair redo and I did not want it to go to waste. I was going to salvage it no matter what :)
And muslin is soo cheap compared to most fabric, so doing it this route is a no brainer unless you want the whole pillow covered with the same fabric. It really doesn't take much longer to do than my old way, even though that way is hands down sooooo easy :)
Subscribe to:
Post Comments (Atom)


These are lovely! I love adding ruffles to ANYTHING! I would love for you to link this up to "I Made This" at Grits & Giggles! http://www.gritsandgiggles.blogspot.com/2012/05/i-made-this-3.html
ReplyDeleteVisiting from TT&J. These pillows are so cute! I absolutely love them! Thanks for the tutorial!
ReplyDeleteThese are beautiful! What a great use for scrap fabric. :)
ReplyDeleteI love the ruffles - the pillows look beautiful!
ReplyDeleteThose pillows are so cute - Love them.
ReplyDelete(1st time here, found you thru BlogLog Directory)
- Melanie
www.mailboxjourney.com
Can I just tell you how much I adore these pillows? I'm your newest follower and I would love it if you linked this project up at Well Crafted Wednesdays! You can find it here:
ReplyDeletehttp://thewellcraftedhome.blogspot.com/2012/05/well-crafted-wednesdays-link-party-3.html
Such a gorgeous pillow and thank you SO very much for the AWESOME tutorial!
ReplyDelete