The Secret To Making 5 Minute Pillow Covers


It's no secret that I'm a pillow hoarder. If you don't believe, I'll show you pictures of my hoard. It's literally a little scary. But, to save face, I'm not showing it on here :) I love my pillows. They are my go to way of changing up the feeling of a space...plus, they are pretty cheap. Once upon a time before I had kids, I was making new pillow covers weekly. But those days have long passed and I needed some way to support my addiction without buying new pillows. Because goodness knows, I have NO place to store them anymore. Pillow covers take up a ton less space :) So, I found a great easy way to make 5 minute pillow covers that fits in this busy momma's schedule. Plus, it's pretty cheap if you keep your taste to a beer budget :)
The secret to making 5 minute pillow covers, sewing only 4 lines with continuous thread!
My secret? Flat sheets. Yep. I usually use twin sheets from walmart that cost $5. But, they were out so I grabbed the full size for $10. For the twin sheet, I just recently made all four of my 26 inch pillows out of it and still had some fabric left over. And no, before I get ahead of myself, the whole pillow is not made of a sheet. Just the back. So you can splurge a little on the front fabric and go cheap on the back with the sheet.
The secret to making 5 minute pillow covers, sewing only 4 lines with continuous thread!

So, how do I make them in 5 minutes? I save time by using the sides which are already sewed on the sheet. The top flap that is usually a little wider, I'll use for the envelope part of the pillow that is actually seen. The sides of the fabric are used for the under part of the envelope fold. Doing this cuts out about 5 minutes of sewing and cutting and pinning. Boom!
The secret to making 5 minute pillow covers, sewing only 4 lines with continuous thread!
So, here's my process.
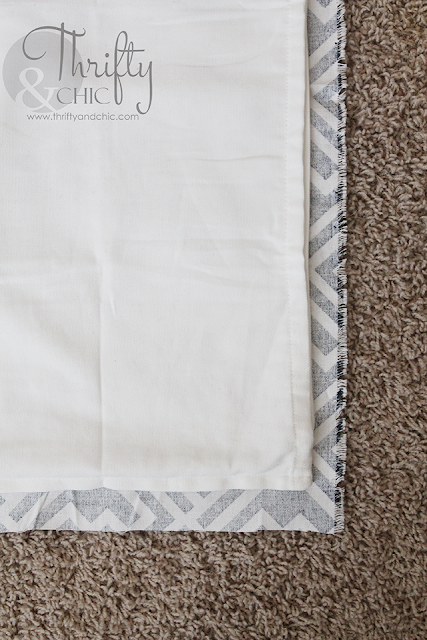
1. Grab a pillow case that is already made to fit the pillow you want to cover. Place it on your fabric and cut a one inch border around it.
The secret to making 5 minute pillow covers, sewing only 4 lines with continuous thread!
2. Place the cut fabric on top of the sheet, placing the sheets wider panel at the bottom. Cut the sheet about 2/3s of the way up the fabric. Now use this cut sheet to cut another piece of sheet, usually using the sides this time which have a smaller hem.
The secret to making 5 minute pillow covers, sewing only 4 lines with continuous thread!

3. Lay the fabric right side up. Place the two pieces of sheet right side down on to the fabric where they overlap. Make sure to put the wider hem down first and then the smaller hem. Don't mind the awesomeness of these wrinkles :) To save time, I obviously didn't iron these. The wrinkles will show less when a pillow is in there.
The secret to making 5 minute pillow covers, sewing only 4 lines with continuous thread!

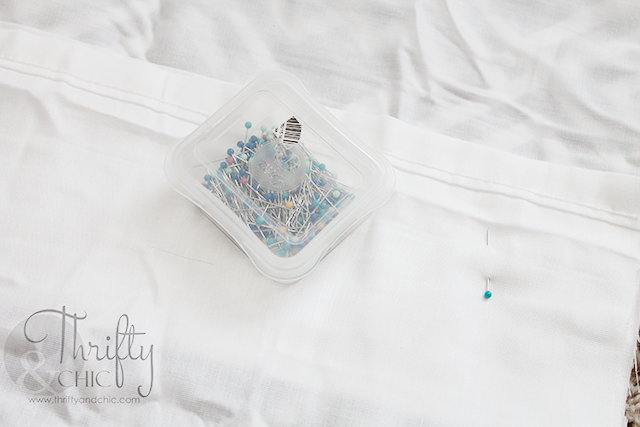
4. Pin in place.
The secret to making 5 minute pillow covers, sewing only 4 lines with continuous thread!

5. Sew in place leaving a border of about 1 inch.
The secret to making 5 minute pillow covers, sewing only 4 lines with continuous thread!

Done!
The secret to making 5 minute pillow covers, sewing only 4 lines with continuous thread!
If you get a hang of this, you can easily whip these babies out in less than 5 minutes. You pretty much just have to sew 4 lines with 1 continuous piece of thread. That's my kind of DIY project :) Working full time and raising two kids as a stay at home mom really makes it hard to do anything, so I'm all about time saving things :)
The secret to making 5 minute pillow covers, sewing only 4 lines with continuous thread!
Place mats are also another excellent way of saving time while making pillow covers using the same idea :)
The secret to making 5 minute pillow covers, sewing only 4 lines with continuous thread!

5 comments

  1. Love this tutorial...thanks so much for sharing it with us!

    ReplyDelete
  2. This comment has been removed by the author.

    ReplyDelete
  3. This is such a great idea! I need to get a sewing machine. Thanks for sharing!

    ReplyDelete

happy DIYing! Alicia