You know what the best thing is about being able to build things yourself? Well, there's two. First, you can save gobs of money. Second, it makes gift giving pretty easy!
Ever since I started having kids, I've gotten onto my mom about her death trap of a coffee table. It was huge, had sharp wrought iron edges every where...bottom, top, 4 per each side. It was just dangerous for new walkers and babies. Well, to give her the benefit of the doubt, no injuries occurred. But, she finally did give it away a few months ago. And ever since, I have felt obligated to give her a replacement. After all, it was sort of my fault :) I went through a few design ideas, mainly being tufted ones but, then I thought of my moms lifestyle and a tufted ottoman was out of the question. Only one with a slipcover or made from wood would work. So, I decided on this cute plan from Jen from House of Wood and Ana White...the balustrade coffee table.
I fell in love with it the minute I saw it months...maybe even years ago. I even had the link for the legs bookmarked. But, I could never bring myself to make it for my house. So, this was the perfect opportunity to try this build!
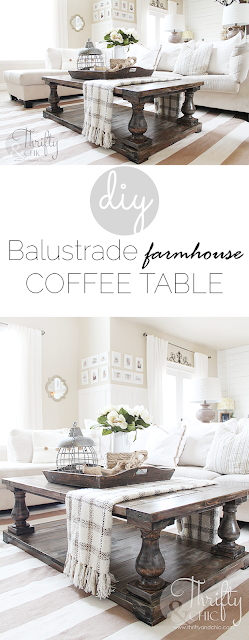
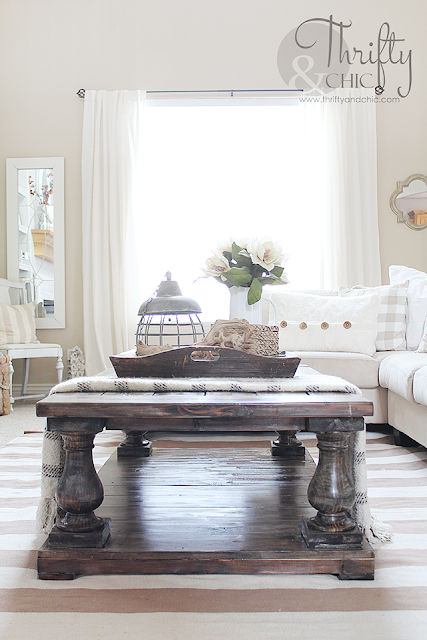
Of course, I had to try the look in my house :) And truthfully, it's not for me. It's too big. Even if I had painted it white, I don't think I would go for it in here, but I love it in my mom's house! One of these days I'll get around to taking pictures of her place :)
This is Restoration Hardware's balustrade coffee table that goes for $1800. Insane! This cost me about $200 to build, which included the shipping of the legs...which was pretty expensive :(
But the legs do make the table, so it was hard to make this without them.
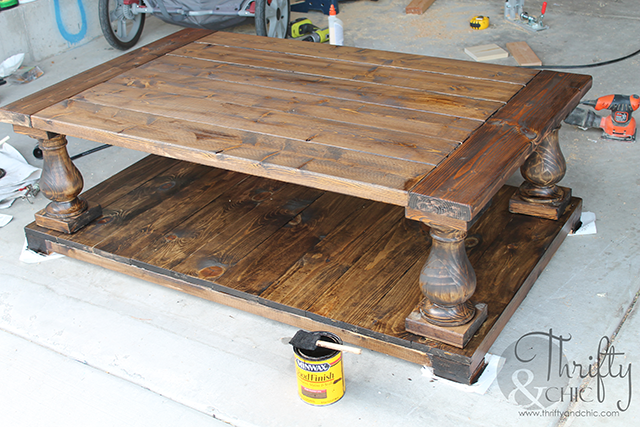
So, here's my two cents on the build. You can see the complete tutorial on Ana's website. First, get a pocket hole jig. It's worth it. If you don't want to spend money on the Kreg Jig, then get one for cheaper at Harbor Freight. Next, this bottom picture shows the hardest part. Trying to connect the legs to bottom and attach the supports. It was a little difficult. It might be easier to create the supports on the legs first and then put them onto the bottom.
Making the 1x6 blocks sit evenly on the legs was a task. The way I made sure they were even was placing a larger 1x6 on the side straight up. After gluing the blocks onto the legs, and before the glue set, I moved them around until they lined up evenly against the board.
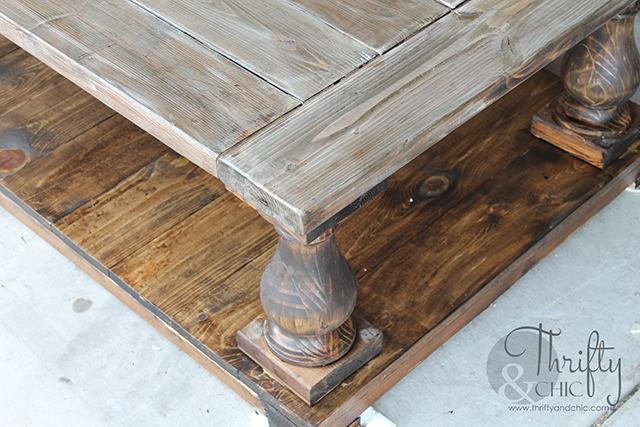
My final change would have been to make the bottom 2x4s mitered joint, so there would be no uneven wood grain on the sides, right above the feet.
As for the color? I chose to use Dark Walnut from Minwax. After staining the whole thing, I decided it needed something more. The color just wasn't going to work for my mom's house.
So, then I covered it in a white stain from DecoArt...and well, kind of freaked lol. It worked perfect on my scrap piece, but didn't work large scale. I think I let the original stain set in too long.
So, then I went back over it with another coat of Dark Walnut to get the look I was going for. It's a pretty good weathered and worn look. You can see the difference of the original Dark Walnut on the bottom compared to the top.
Here it is finished with nothing on it.
I kind of botched the legs when I messed up the stains, but luckily it blended in decently with the overall look. But, it did give me some crazy anxiety!
After building this, I seriously wonder why I never used my pocket hole jig before. It has sat in my basement for 2 years! Never again! This is the best way to work :) I did get like 15 splinters in my hand though from the 2x6s. They were just horrible. Never had a problem with wood splintering like that before until this build...my hands are still recovering :)


Your table is stunning! And I think it looks beautiful in your home! (You almost make me feel like I could build one... I wonder!?) Love your staging too.
ReplyDeleteI was just salivating over a similar coffee table at Pottery Barn that is $800! Your table is even bigger and just as beautiful. Thank you for the awesome project post!
ReplyDeleteI love your table!! Can you tell me where you got the lantern that is in the tray? Thanks for sharing!!
ReplyDeleteI got it as one of those random finds at Gordmans! :)
DeleteThanks!!
DeleteDid you let the dark walnut stain dry all the way before you added the layer of white stain? And again, did you let the white stain dry all the way before you added the second layer of dark walnut? This is literally the exact color I'm looking for! So beautiful.
ReplyDeleteDo you mind sharing where you ordered the legs from? It's beautiful!
ReplyDeleteHi! Where did you order the legs? Thanks!
ReplyDeletewhat are the dimensions of the table when done?
ReplyDeleteWhere is your rug from? I love it!!!!
ReplyDeleteWhere is your rug from? I love it!!!
ReplyDelete