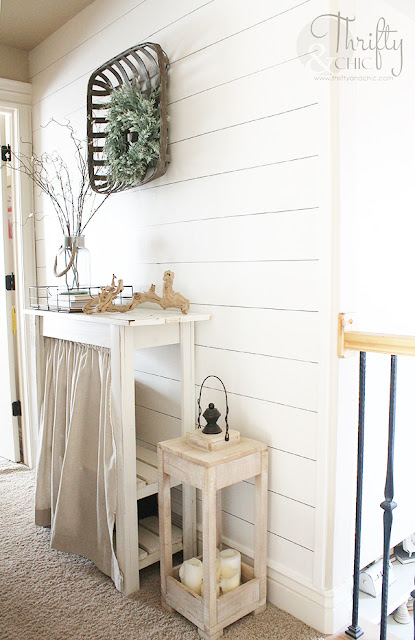
Well, this little spot in our upstairs hallway doesn't get any love. It's the one spot that usually acts as catch all of school artwork, toys, dirty clothes, etc. I always wanted to brighten it up and make it more inviting. I had ideas about doing shiplap but the molding on the door adjacent to the wall was too close to the wall and actually somewhat crooked. So, then I decided I would do floor to ceiling board and batten. Even bought the boards and everything. That was like 3 months ago :) On a whim, I decided to try something new last night. And I completely love it! It was so quick, easy, and cheap....practically free. Plus, no power tools required which is the best!
Here's the after:

So, how did I do this faux shiplap?
First, I painted the wall Swiss Coffee by Behr.
I then took my level and measured down from the ceiling and marked every 6 inches. I did this on about 4 areas of the wall. I then took a pencil and connected the horizontal lines, making sure they were level. I've done this type of shiplap twice now and wouldn't skip this step even though you can. It just makes sure the next step stays accurate.
On my big wall, it found that doing horizontal sections was a lot quicker than doing whole lines by themselves.
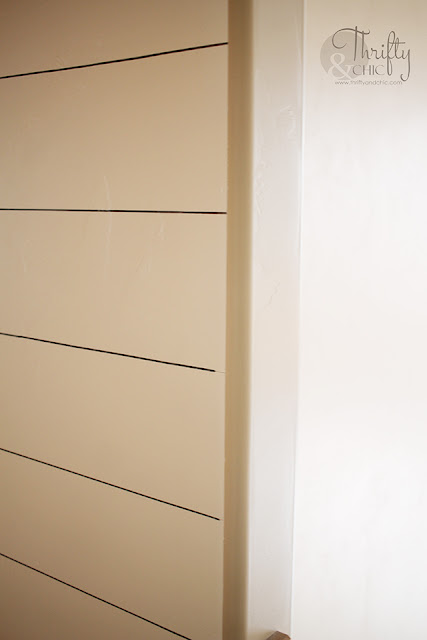
I taped off the wall initially when I painted it white and took the lines to the tape. But, I didn't like how undone this looked. So...this is the part that does require some tools, but it's technically not apart of the shiplap :)
I took a small 1/2"x1 1/2" mdf board and secured it to the end. I feel like this finished it off much better than before. If you were to do a whole entire wall that doesn't randomly end, you wouldn't necessarily have to do this. Or, if you do a whole entire room, wouldn't need it either.
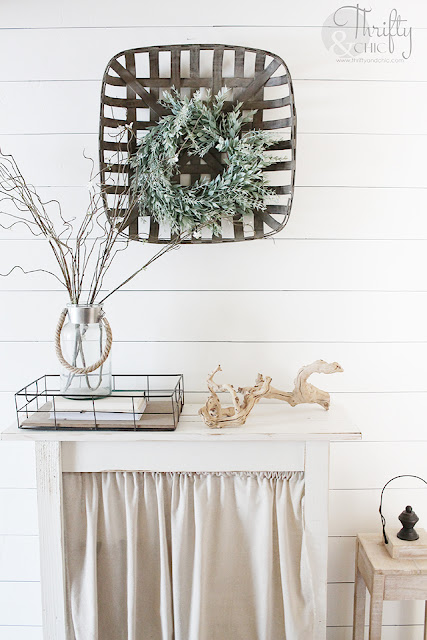
Here's the finished look:
I can't get over how bright this looks! And be truthful....if I showed you this picture without you knowing how I did the shiplap, you would have no idea it was just marker!
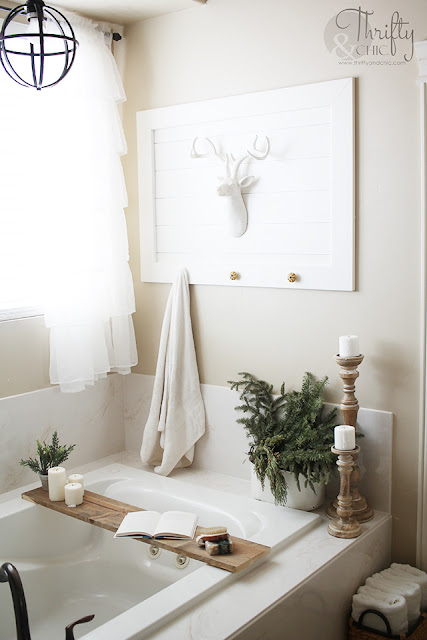
Okay. Now for my first initial try at this. I did it in my bathroom. Above the bathtub I did a stencil a few years ago, and truthfully hated it ever since. The molding kept falling off and it was a big mess.
So, I did the same technique, and rehung the molding...
Now, here's my two cents. I think this looks amazing on small spaces. I'm sure it'll look great doing this to a whole room. But, if you are going to sell your house soon...I don't know :) I think it would be a big let down to buyers to find out it's just marker. Also, this is something you would have to be willing to repaint your whole entire room if you decide you don't like. Which is of course, totally doable but a big pain in the butt :) haha.
That being said. I have a big ledge loft thing in my entry way that I am totally going to do this on! Serious. It's up high so no one will ever notice that it's not. Now, only if I can get some nerves to get up on that ledge :)
PIN FOR LATER:


This is so clever. It looks amazing.
ReplyDeleteI love this!! We're thinking of doing a ship-lap wall in our nursery and the fact it's "no tools needed" really makes it a selling point! ONE thing to note, Our Faux Farmhouse posted awhile back about how they wrote in sharpie on their wall (to mark the different paint colors). Thinking they'd eventually be painting over it. Well the sharpie keeps coming through so I'd definitely suggest to your readers to use something less permanent in case down the line, they change it up or want to paint over. But, seriously loving the ease of this one!
ReplyDelete