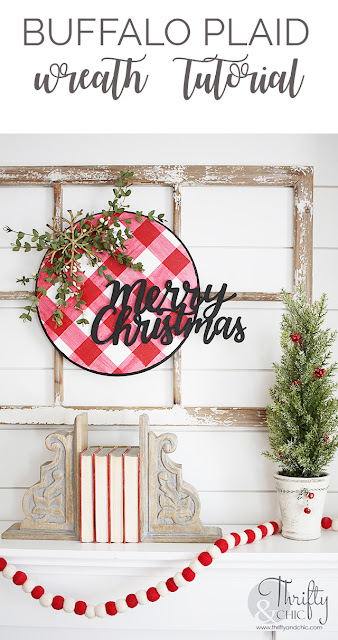
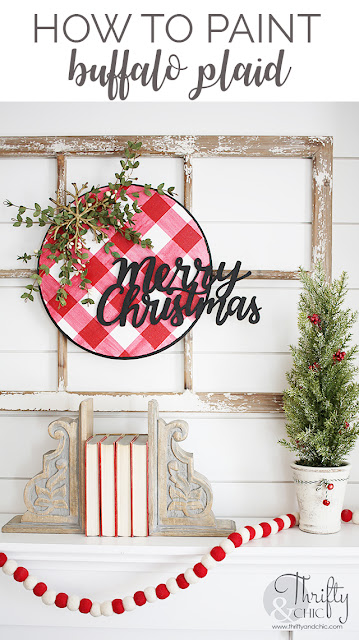
Well, it's November so I guess that now makes it okay to talk about Christmas! Seriously though....Christmas? I feel like I'm dreaming. I'm not sure how it's that time of year again. But! That hasn't kept my brain from going into overdrive on Christmas craft ideas. Today, I'm going to share with you how to make this wood wreath, and better yet, how to paint the perfect red and white buffalo plaid.
You can't tell much from the pictures, but this wreath has the prettiest hints of glimmer in it from the red in the buffalo plaid to the green leaves and the gold snowflake. Here's the paint I used to achieve this look.
DecoArt Americana in Primary Red, Titanium White, and Lamp Black.
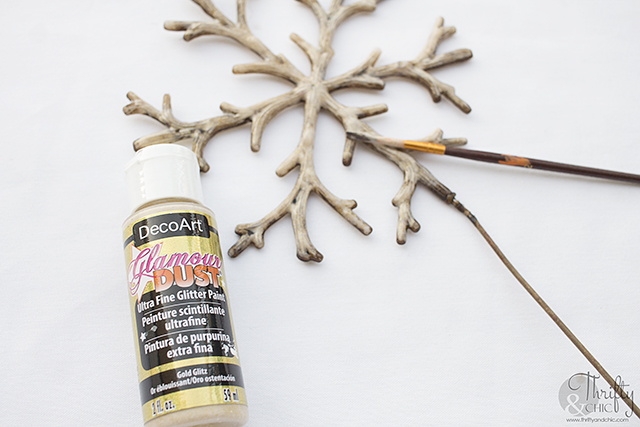
DecoArt Glamour Dust in Gold Glitz, Emerald, Ice Crystal, and Sizzling Red.
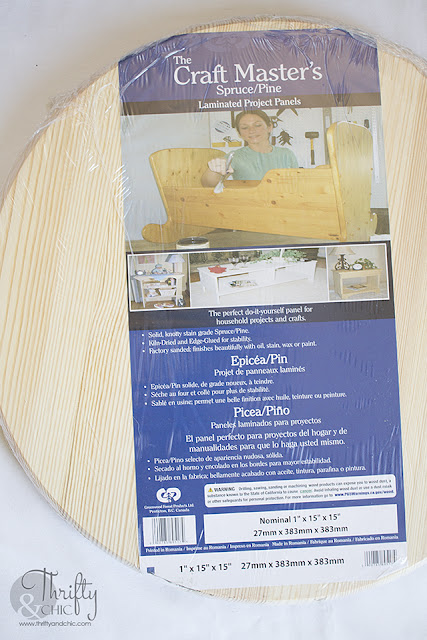
For the main piece, I used a 15" pressed would circle. You can find these at most home improvement stores in multiple sizes.
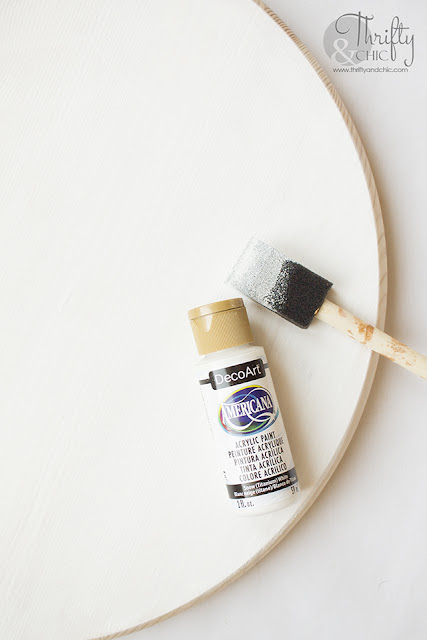
Step 1: Using the Titanium White and a foam brush, paint the entire disc. Apply two or three coats for full coverage.
Step 2: Using the Glamour Dust in Ice Crystal, go over the white with a sponge brush. The more coats you use on this, the more glittery dust you will be able to see. I kept mine to two coats. Let dry completely.
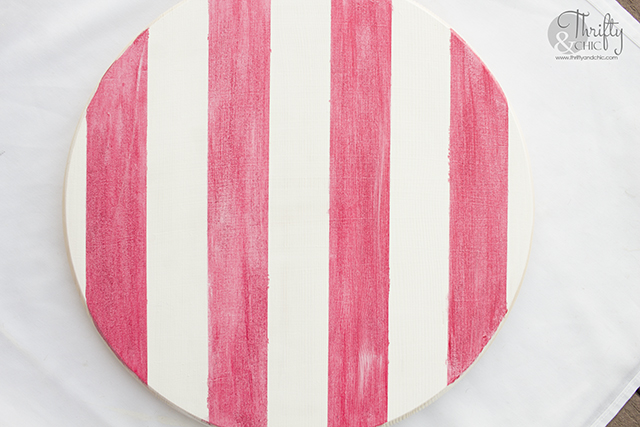
Step 3: Using 2" painters tape, tape straight down the middle. Then using a small piece as a spacer, place another tape parallel to the first piece.
Continue on until the you have the disc full of stripes.
Step 4: Mix 4 parts Titanium White to 1 part Primary Red and 1 part Sizzling Red. Make enough to fill in these stripes plus another set of stripes.
Using your foam brush, fill in the stripes. Don't worry, it won't be pink for long.
Step 5: Once the pink is dried, add a single coat of the Sizzling Red over the pink stripes.
Step 6: Remove the tape, and you should have candy stripes.
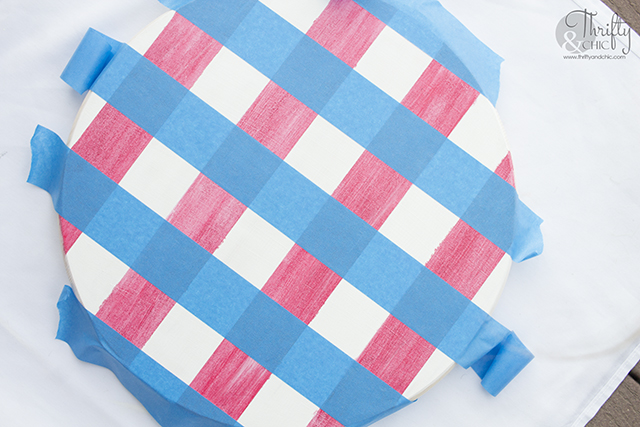
Step 7: Now using the painters tape, apply lines in the opposite direction.
Step 8: Paint these lines with the pink mixture. Apply a coat or two for full coverage.
Step 9: Paint on a single coat of the Sizzling Red.
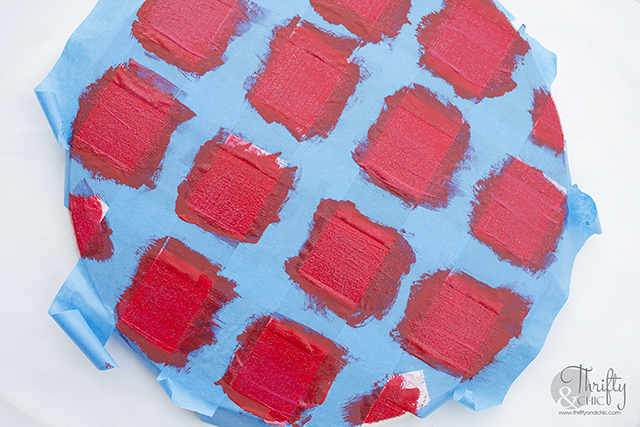
Step 10: Leaving the painters tape on, place more lines of painters tape the opposite direction again. Start in the middle and move outward.
Step 11: In the open squares, paint two coats of Primary Red. Let dry. Apply two to three coats of Sizzling Red. More coats of the Glamour Dust make it more shimmery.
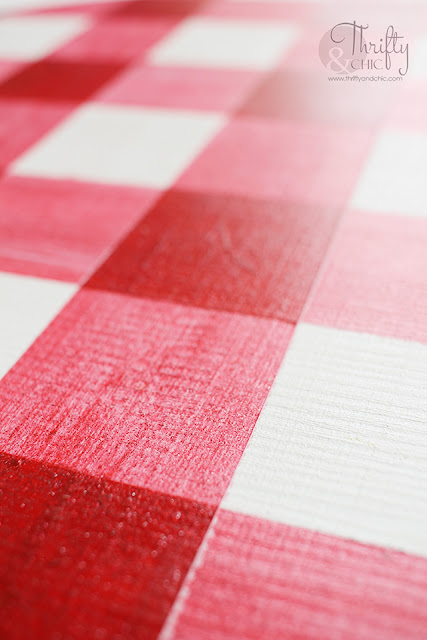
Step 12: Now for the most satisfying part...take off all the tape to reveal your buffalo plaid pattern. If you find any areas that seeped under the paint, clean them up quickly before they dry.
Step 13: To finish the disc off, carefully paint the edge with Lamp Black.
Step 14: Now for the accessories! I got these all at Hobby Lobby.
Step 15: Paint the snowflake with the Gold Glitz. I applied about three coats to get it super shimmery.
Step 16: Since the faux greenery that I picked didn't have any glitter, I decided to add some with the Emerald and Gold Glitz. Using a small brush, I painted a thin coat onto the leaves.
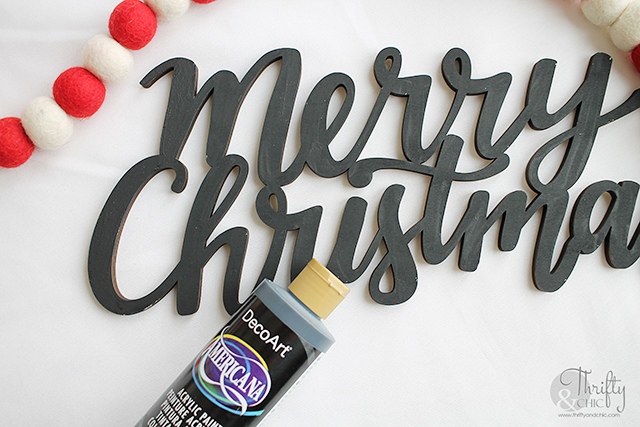
Step 17: I finished off the Merry Christmas with the Black Lamp. I went back and forth on this with adding the Glamour Dust or not, and decided I liked the flatness about it in comparison to the glitzy red buffalo check.
Step 18: Hot glue everything into place.
Step 19: To hang, place a d-ring on to the back. Just find the center of where you want it to hang, and screw it in.
This would look so cute just hanging on a door by itself, but I decided to hang it above the mantel coupled with this old window frame. I think I am leaning towards a red and white them this Christmas. I just love how the red pops off everything.
Are you ready for Christmas decor? Or do you still feel like it should July, like me? It totally doesn't feel like July right now with temps in the teens, but it still doesn't feel like it should be November yet either!
Want more inspiration like this from DecoArt and other amazing bloggers? Follow here!
www.decoart.com
Follow me on my social for sneak peaks, live videos, and fun new things that are going on!
Pin for later:
Disclosure of Material Connection: I received one or more of the products or services mentioned above for free in the hope that I would mention it on my blog. Regardless, I only recommend products or services I use personally and believe will be good for my readers. I am disclosing this in accordance with the Federal Trade Commission’s 16 CFR, Part 255: “Guides Concerning the Use of Endorsements and Testimonials in Advertising.” Disclosure of Material Connection: This is a “sponsored post.” The company who sponsored it compensated me via a cash payment, gift, or something else of value to write it. Regardless, I only recommend products or services I use personally and believe will be good for my readers. I am disclosing this in accordance with the Federal Trade Commission’s 16 CFR, Part 255: “Guides Concerning the Use of Endorsements and Testimonials in Advertising.”














0 comments