It finally happened! I have been wanting to do something to this big beige wall in my front living room for years...years!
See, the only problem is that I didn't know how anything would look with that planked/shiplap wall next to it. I thought about continuing the planking onto this wall and the other walls in here, but it's not my fave way of doing the planking. So, if that was going to happen, I would just take it all down and do it with tongue and groove boards. This would be super crazy expensive. I've been wanting to do floor to ceiling board and batten somewhere in my house for years. The places I really want it have 20 foot high ceilings, so that wasn't going to happen. The other rooms are already done with something else that I'm not ready to part with. I always envisioned it on this wall...and well, now that my weekends are a little more free I decided to finally tackle it and just see how it looks!
I ordered all the items I needed online from Home Depot and did curbside pickup. I sent my husband since he's already out and about considering he's an essential employee. It worked out really well! I don't know how much longer these stay-at-home orders will be in place, but if they continue on and your in a state that allows things like this...there's your option!
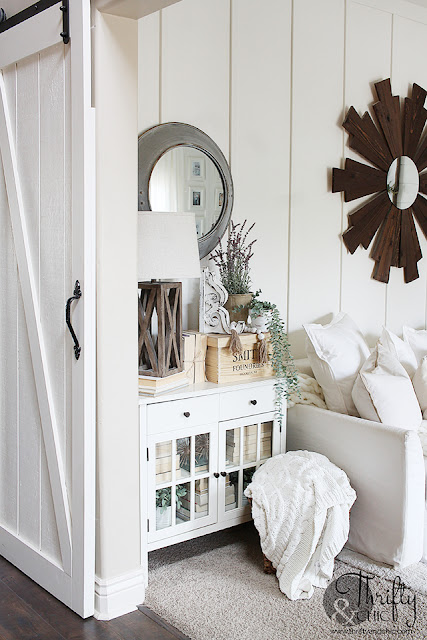
So, I'm not going to lie...this took quite some time to do...mainly the finishing work to make it look just perfect. But it was totally worth it. Here's the after!
I have a lots of tutorials on how to do board and batten, here's my favorite one (plus it includes most of the other tutorials). It shows you how I like to finish them so you have a nice clean look and no gaps. Gaps are usually a big issue with making them be so-so to looking amazing. I realized once all my boards were up, mainly the horizontal ones, how unlevel my ceiling and walls were! It's crazy. Here are a few pics of my process.
First step was to paint the wall white. I used Behr's Swiss Coffee in satin -my favorite white!
Since my baseboards have a pretty decorative edge, it was too small to have the 1/2" width sit on them and look pretty. So, I just added a 1/2" x 2 1/2" board on top of my baseboard. Secured it in.
From there I added the vertical boards. They are 1/2" x 1 1/2" boards spaced 14" apart. Word of advice, measure before you cut every board. My wall height varied by about 1/4" to 1/2" from one end to the other. So, don't do a mass cut, do it board by board.
I then used some light weight spackling compound and went over every crevice with my fingers, and then used a lightly damp paper towel to clean up the excess. I then painted over the boards and the wall one more time for a pretty crisp clean look.
It's up to you if you want to put these boards into studs. I know a lot of people do, and suggest if you don't, to use liquid nails. Liquid nails ruin walls if you ever want to take the boards off. So, I decide not to use it. And I don't always go in studs. I have so much board and batten in my house and have never lined them up purposely with studs, and none have come down....even with the few earthquakes we have been having over the years. I think it's helpful that I used the spackling compound, it kind of like secures it a little more.
Another thing that took me forever to do, was paint that darn ceiling. It took me about 2 nights to do it. I couldn't leave it though, then I would have white walls with a beige ceiling and that just looked weird :)
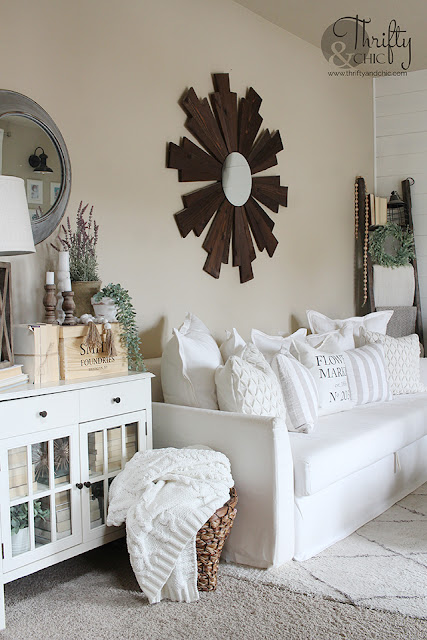
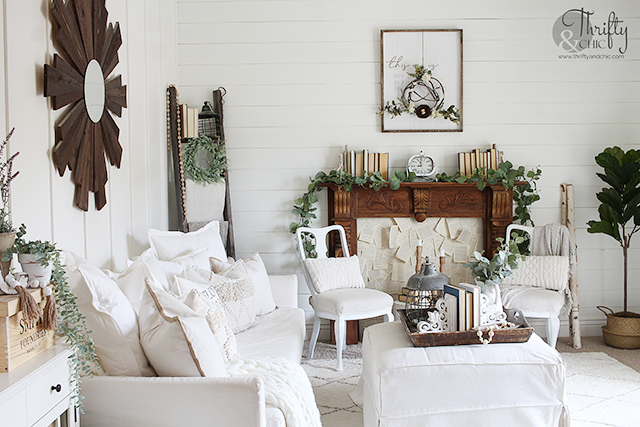
I am so pleased with how this turned out. This is the view from our entryway coming into the house. I feel like it's just so much brighter and has a lot more character.
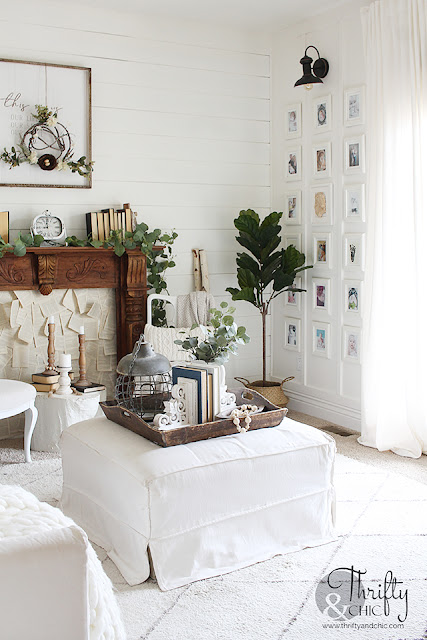
This is a good look at how the board and batten looks against the planking or shiplap wall. I actually don't mind it!
(Side Table: Target White Slipcover Couch/Bed: Ikea Rug: Rugs USA Farmhouse ladder: Tutorial Wood sunburst mirror: Tutorial )
And of course, I had to paint this other wall and added the board and batten to it. This was the wall I was dreading. It was actually one of my favorite walls in my whole house before. But, I knew I couldn't leave it beige and have two other walls looking completely different too. It seriously hurt me to do this. ha! But it has grown on me and I'm coming to love it.
Here's what it looked like before:
Now this was just way to white for me (never thought I would say that)! But, my favorite part about having things white is how wood and color pop off of it so good! So, I added this beautiful wood piece on the top of my door from DecorSteals. I thought it helped break up the white. I'll be redoing the curtain rod and brackets soon to add a little more wood, and possibly change out the curtains.
Back when this wall was beige, I would attempt to take this picture and it would turn out awful. The coloring was just never right. Now, it's perfect!
I have some ideas in store to switch up some of my cabinets. I'm thinking this one might get switched with the apothecary one in my living room. We will see! It'll help add a little more color to this room now that it's all white.
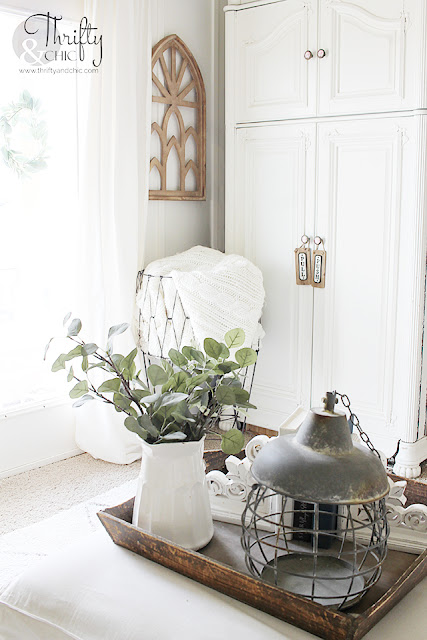
This is an angle that you don't get to see ...often...if ever. It's just not picturesque :) but, I figured I should snap a picture while it's actually clean! This is the cabinet that my hoard of pillows, accent rugs, and blankets go in...and usually around and on top of :)
My husband says now I have my own white box. It's so true. ha! The lighting in here is so amazing. It's the best place to hang out! I have moved my office in here...that means I just plop in here with my laptop :) I do have a cute little cafe table that is easy to move in and out that works perfect for a makeshift desk! Plus, when it's nice out and those doors are open...it's just magical.
My next project is going to be my bathroom. I am finally biting the bullet and going to paint those cabinets. Ah! I might even change out the tile. We shall see! Are you working on anything fun to pass the time? I'm excited to get some of these projects done, it feels like I didn't do much last year, and I want to make a stamp on this year :)
Follow me on my social for sneak peaks, live videos, and fun new things that are going on!
Disclosure of Material Connection: Some of the links in the post above are “affiliate links.” This means if you click on the link and purchase the item, I will receive an affiliate commission. Regardless, I only recommend products or services I use personally and believe will add value to my readers. I am disclosing this in accordance with the Federal Trade Commission’s 16 CFR, Part 255: “Guides Concerning the Use of Endorsements and Testimonials in Advertising.”








0 comments