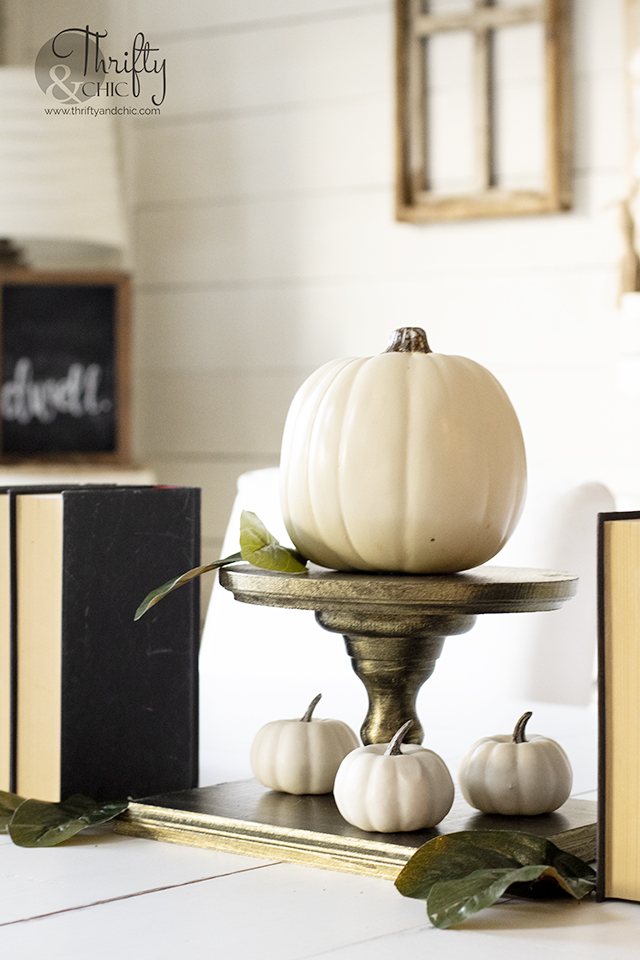
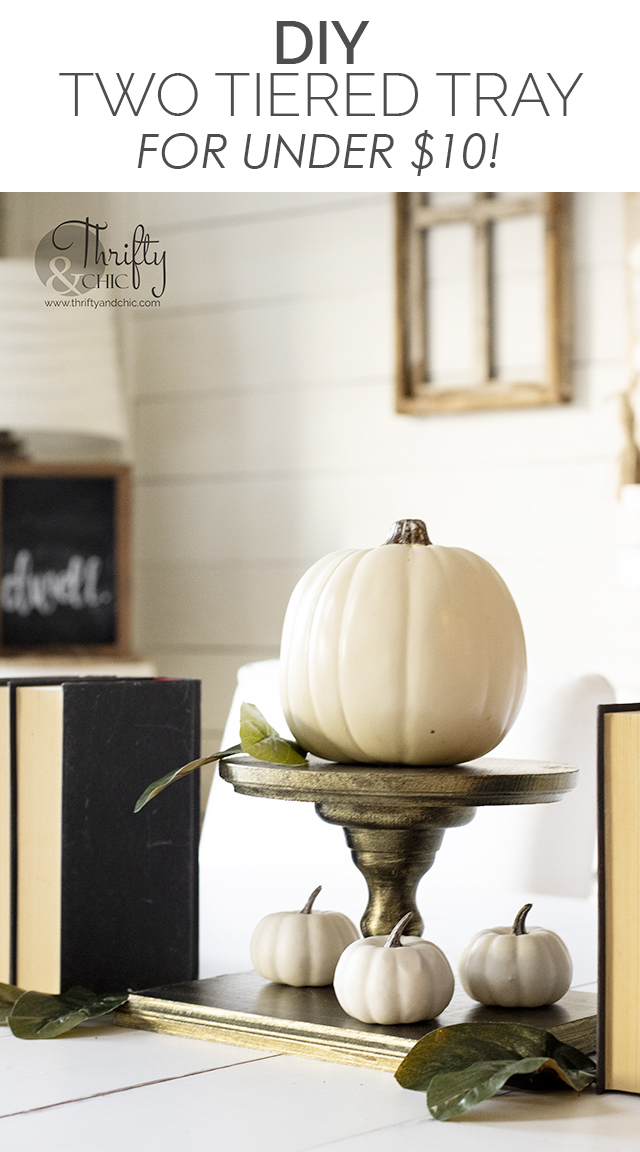
We are way into fall, so far that it's almost Halloween! I have a fun, easy project that transitions easily from fall decor into Halloween decor. The best thing about it, is that it looks like it costs a lot more than it does! This two tier tray was under $10 to make! The secret to making this look so good is the paint!
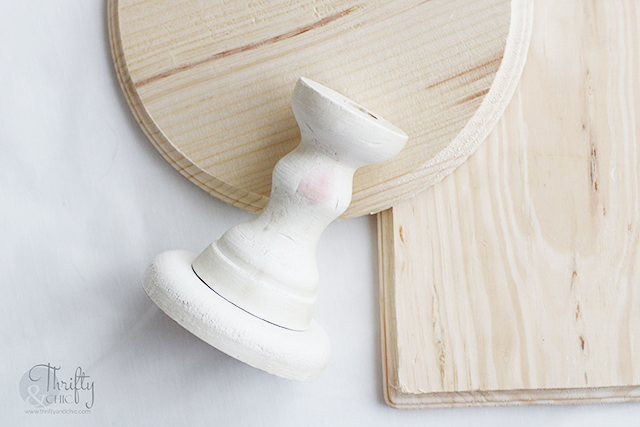
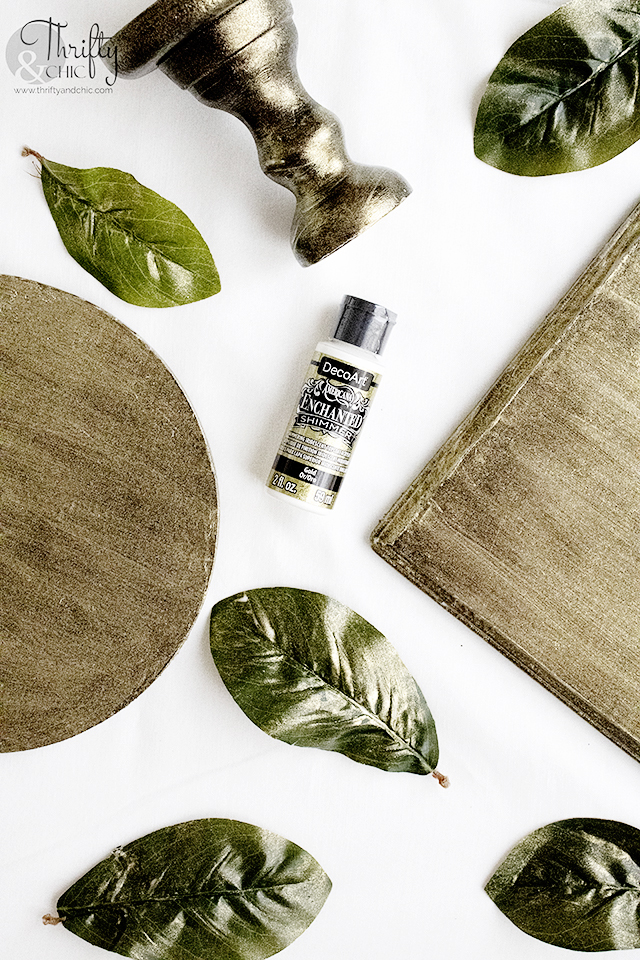
Here's the supplies you will need to make this:- 2 wood plaques (I got mind from Hobby Lobby, a rectangle and a circle)
- 1 wood candlestick. ( I opted for a thicker version found in the home decor area of Hobby Lobby)
- Hot glue
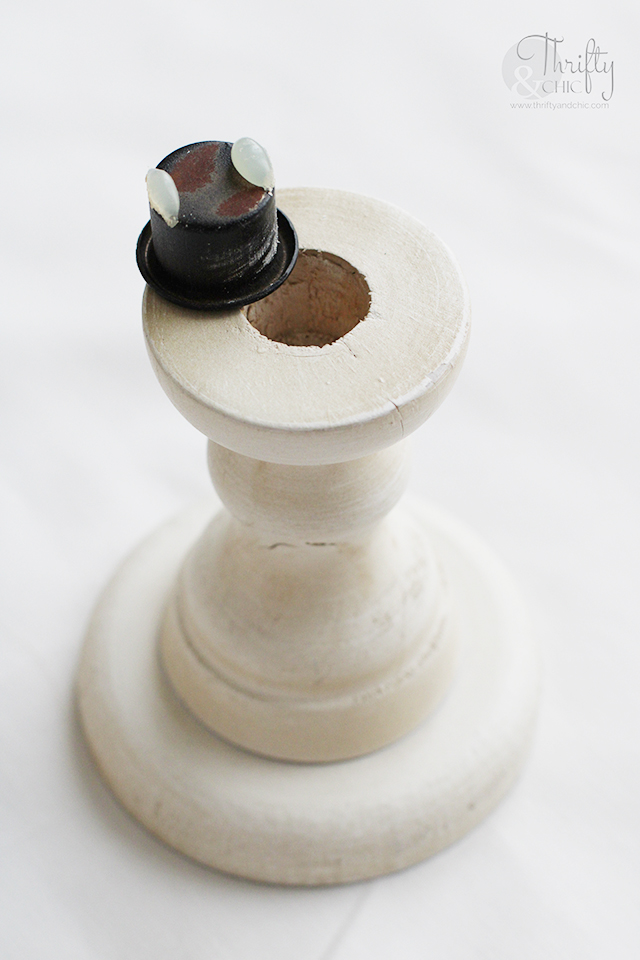
Step 1: Depending on what kind of candlestick you use, you may need to take out the metal cup or metal top. I used my pliers to get this out.
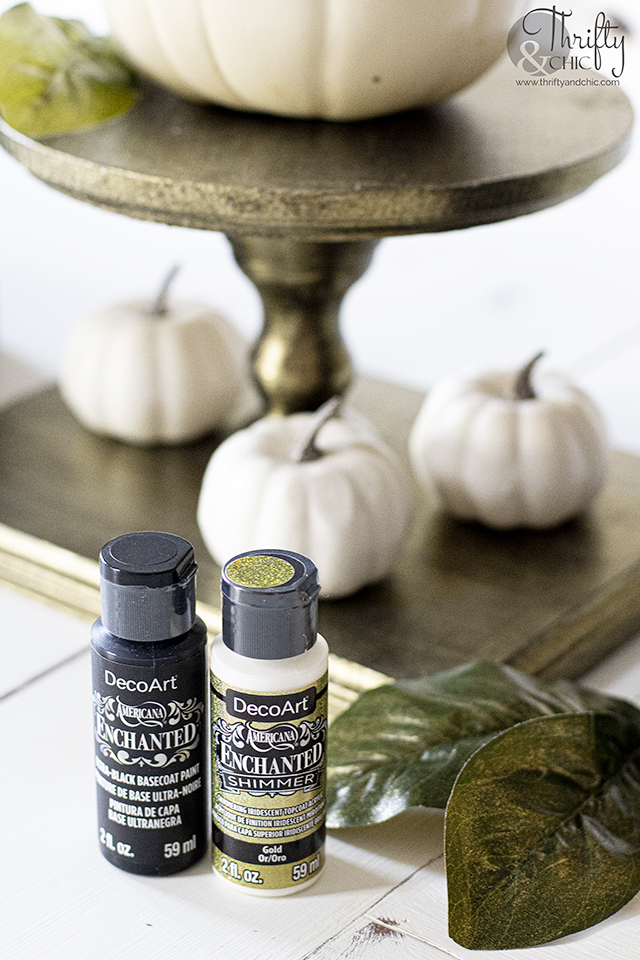
Step 2: Using the Enchanted Ultra-Black Basecoat, paint all the pieces with two coats of paint. Wait for the first layer to be dry to the touch before applying the other layer.Step 3: Add 1-2 coats of the Enchanted Shimmer in Gold onto each piece. It's tricky because it goes on white but dries to reveal millions of luminous translucent particles. These particles make a beautiful shimmery sparkle that changes from every angle.
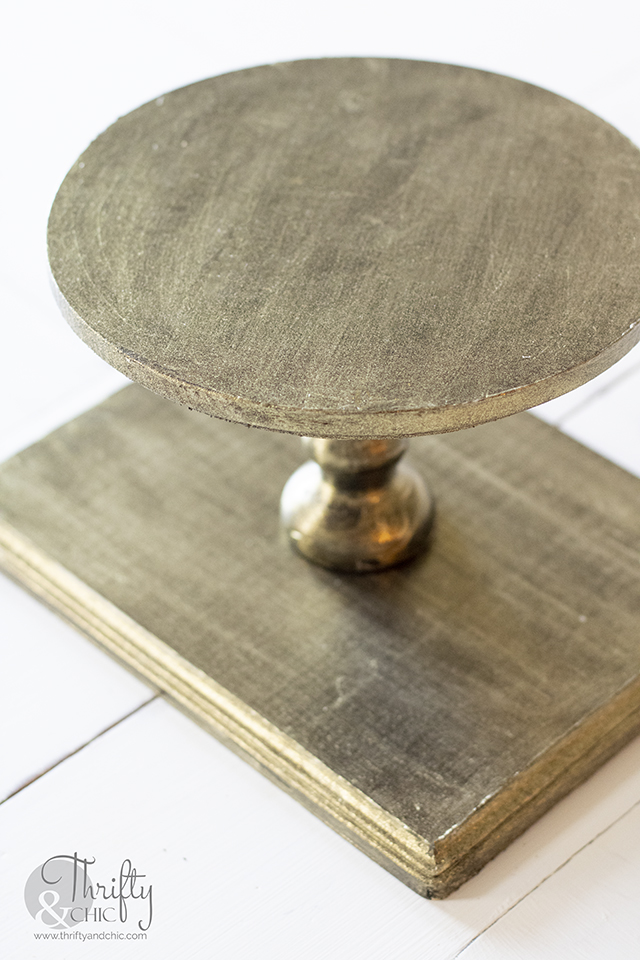
I went with 2 coats of the Enchanted Shimmer for full coverage to give that old plated gold look.
I also added the Enchanted Shimmer in Gold to some loose magnolia leaves I had lying around. I did a light layer to give them the perfect little shimmer. These will be used for my tablescape when the tray is all put together.
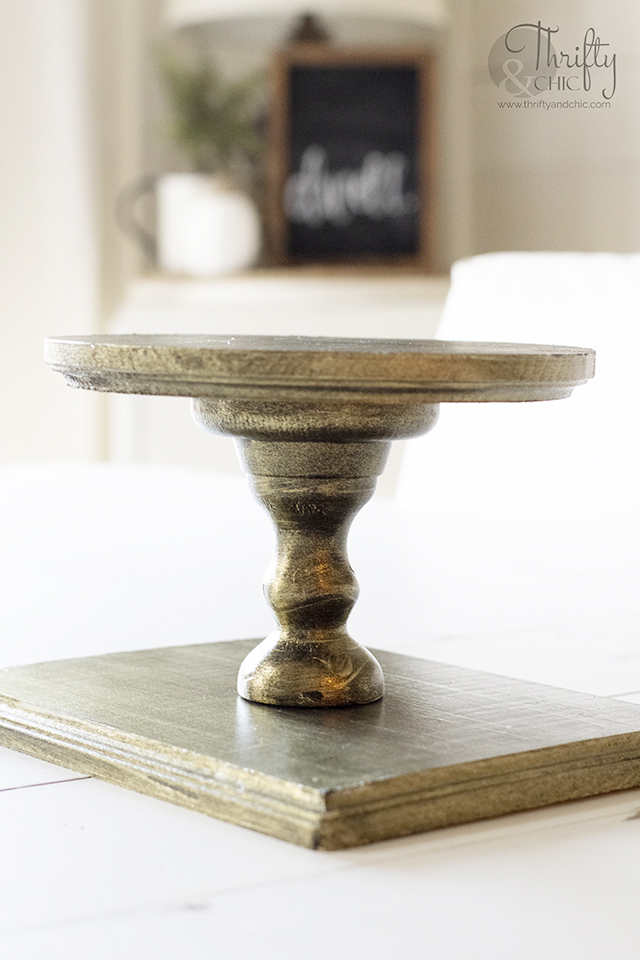
Step 4: Find the middle of the top piece, and carefully position the candlestick base onto it. Once I got a good idea of where it should be, I used a ruler to measure the perpendicular lines going through the middle circle to make sure the candle stick was equidistant from the edge of the round plaque on each side. I then used the hot glue to secure into place.
Step 5: Do the same thing with the bottom plaque and secure the candlestick in the middle with hot glue.
Here's a good view of the brushed gold look. If only you can see the shimmer in person! It looks like an old gold gong.
For my fall tablescape, I placed pumpkins around on the tiered tray, and used the shimmery gold magnolia leaves to fill in some areas.
And here's the easy transition into my Halloween tablescape. I added a tattered black runner, and replaced the pumpkins with skulls. I removed the magnolia leaves and put some old amber bottles to complete the look.
Nothing like having a head on a platter! I have used lots of paint in the past, and this is by far my favorite shimmery/sparkle paint. I'm excited to use it on some Christmas crafts and gifts!
Want more inspiration like this from DecoArt and other amazing bloggers? Follow here!
www.decoart.com
Facebook
Instagram
Pinterest
Pin for later:
www.decoart.com
Follow me on my social for sneak peaks, live videos, and fun new things that are going on!
Disclosure of Material Connection: I received one or more of the products or services mentioned above for free in the hope that I would mention it on my blog. Regardless, I only recommend products or services I use personally and believe will be good for my readers. I am disclosing this in accordance with the Federal Trade Commission’s 16 CFR, Part 255: “Guides Concerning the Use of Endorsements and Testimonials in Advertising.”
Disclosure of Material Connection: This is a “sponsored post.” The company who sponsored it compensated me via a cash payment, gift, or something else of value to write it. Regardless, I only recommend products or services I use personally and believe will be good for my readers. I am disclosing this in accordance with the Federal Trade Commission’s 16 CFR, Part 255: “Guides Concerning the Use of Endorsements and Testimonials in Advertising.”







0 comments