This past Christmas, a couple of my presents to family and friends were cute little blanket ladders. I love my blanket ladders I have in my house! They offer character and more importantly, a nice place to store blankets out of the way. I like to use them to flank tables or lean them against bare walls. These have become a staple in my decor. I change out the blankets and wreaths on them per season. For Christmas, I hang a swag of garland down one side. They are so versatile!
I made a larger ladder a few years ago that I absolutely love, but wanted something smaller and a little different for these presents. I decided this time I would go with round rungs...and not have to use a single screw or nail. Serious!
Supplies:
1 2x2 cut in half (approx. two 48" pieces)
5-6 7/8" round dowels cut at 13" each
7/8" spade bit with drill
Wood glue
Stain/paint
Step 1:
Cut all the wood to the length you want. I made my ladder approx. 14.5" wide, that means drilling about 1/2" into the 2x2 hides 1" of the rungs. So exposed rungs are 12" wide, but cut at 13". I have a smaller ladder that has exposed rungs of 10". It's pretty small and I wouldn't go much smaller than that, but it's totally up to you! Also, this ladder is 4 feet tall. I just used one 2x2, but you can definitely make it taller buy using another 2x2. You can get 2x2s pretty cheap, for under $2 each. If you want a higher quality one that won't bow as much, they are about $8 each for an 8 footer. I was able to get 3 rungs out of each dowel, so I bought two of those for about $7 total. That makes this ladder easily made under $10!
Step 2:
Step 2:
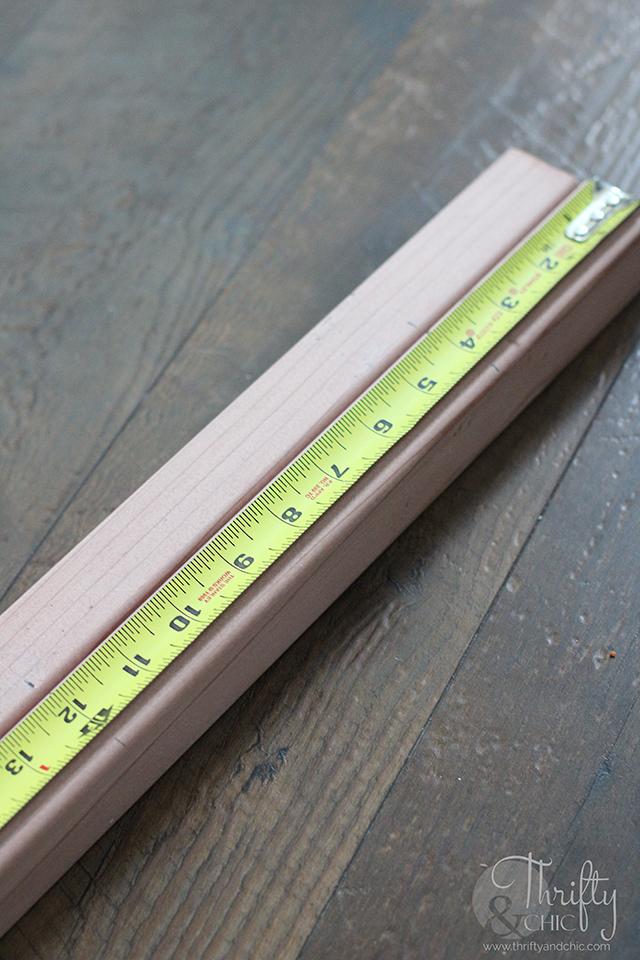
Decide where you want the rungs. I started at 4" from the top, and then 8" on every one from there. Make sure you make the marks on the same spot on both 2x2 pieces.
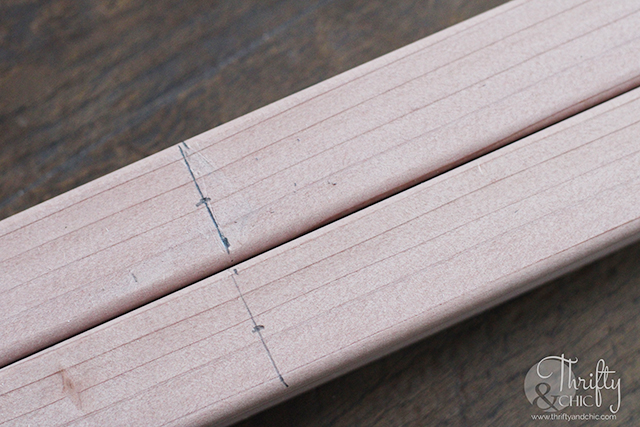
Mark the position, and then use a ruler to draw a straight line.
Next, find the middle of each line.
Step 3:
Next, find the middle of each line.
Step 3:
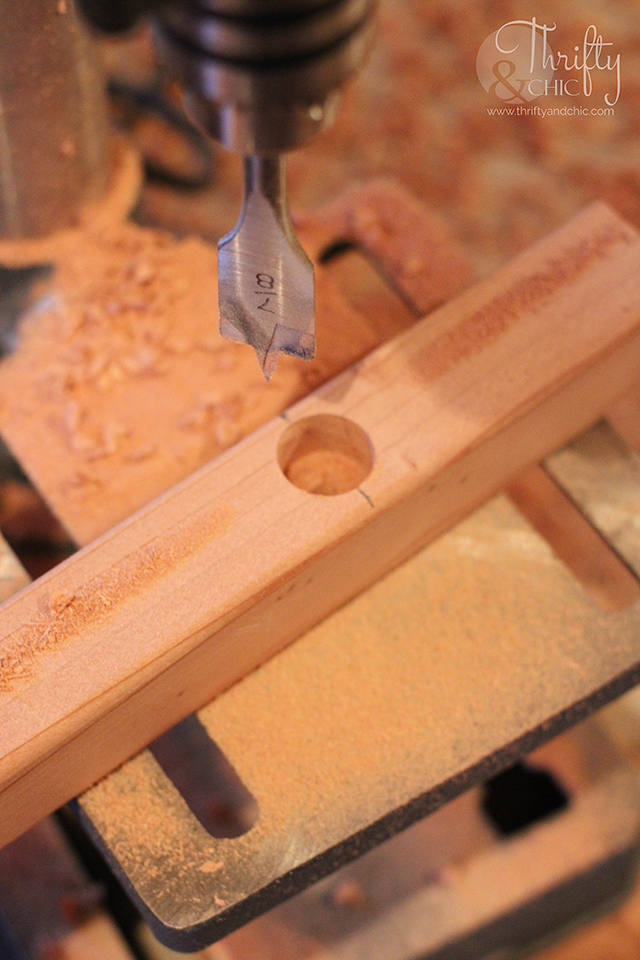
Place the tip of the spade bit onto each of those marks, and drill down approximately 1/2".
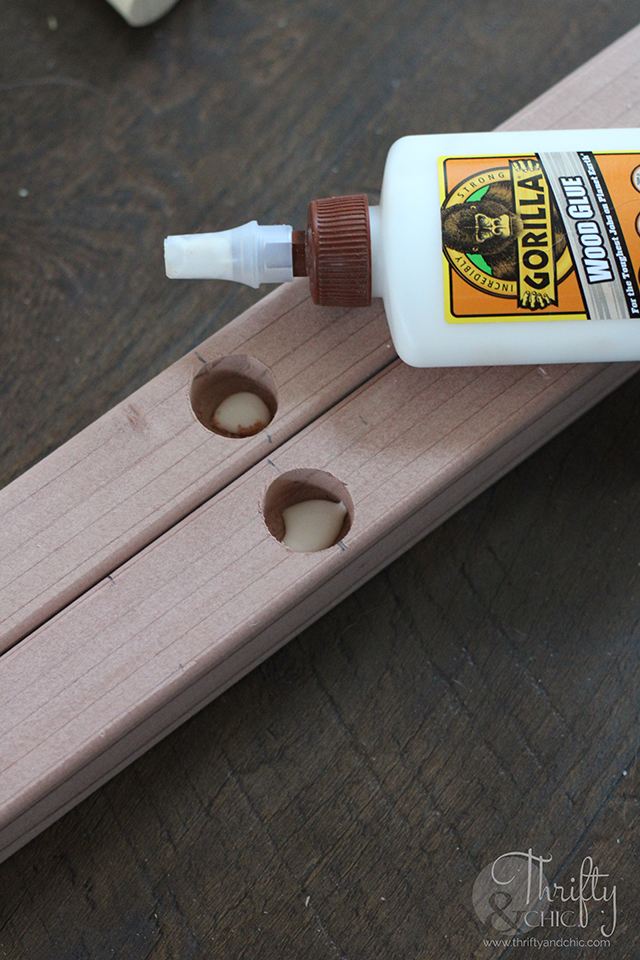
You should have holes that line up with each other on both pieces of wood.
Step 4:
You should have holes that line up with each other on both pieces of wood.
Step 4:
Stain or paint! I used Dark Walnut by Minwax. I'll probably end up distressing and painting mine in the coming days :)
And done! I seriously made this ladder in 10 minutes! It was such a easy ladder to build. I love that it is made with no screws or nails. All you need is a saw and drill!
And done! I seriously made this ladder in 10 minutes! It was such a easy ladder to build. I love that it is made with no screws or nails. All you need is a saw and drill!
I made a couple of these for presents, but loved them so much I had to make one for myself :)
I moved this ladder around my house quite a few times trying to find it's home.
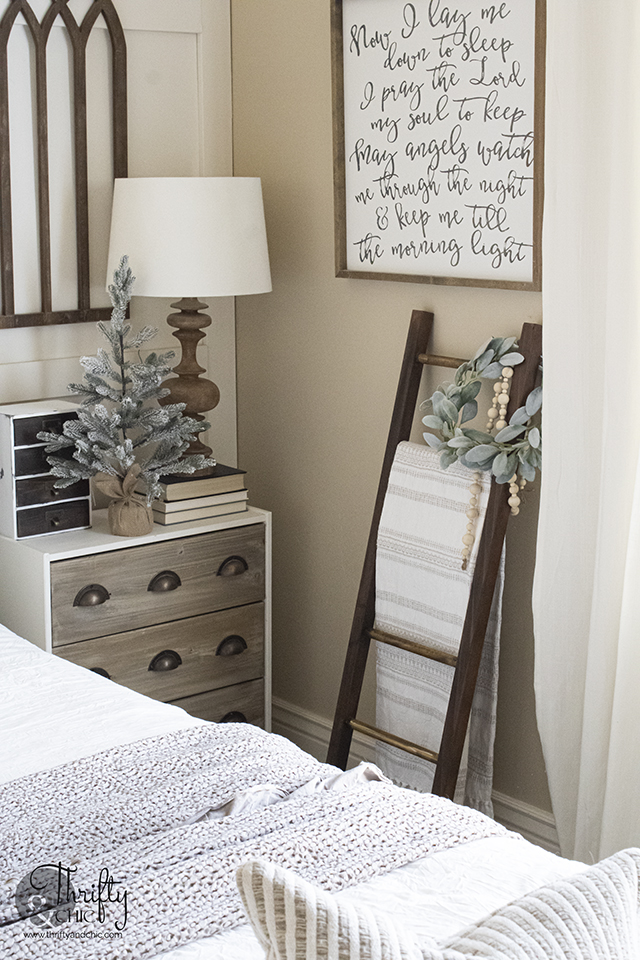
I think my favorite place is in my bedroom! I never thought this wall needed anything more, but I actually ended up loving it here.
And clearly, I am no minimalist! ha! My favorite thing about this hobby of making things is being able to give them as gifts. Ladders were a super easy thing to make! I made a corner hutch for my mom's birthday late last year that I'll be sharing with you all soon. ... as soon as my foot heals up and I'm able to walk around a little :)
My favorite blankets to use on these ladders are actually Turkish towels! They are lightweight, have cute designs with tassels...and usually pretty decently priced. You can find some here.
I think my favorite place is in my bedroom! I never thought this wall needed anything more, but I actually ended up loving it here.
And clearly, I am no minimalist! ha! My favorite thing about this hobby of making things is being able to give them as gifts. Ladders were a super easy thing to make! I made a corner hutch for my mom's birthday late last year that I'll be sharing with you all soon. ... as soon as my foot heals up and I'm able to walk around a little :)
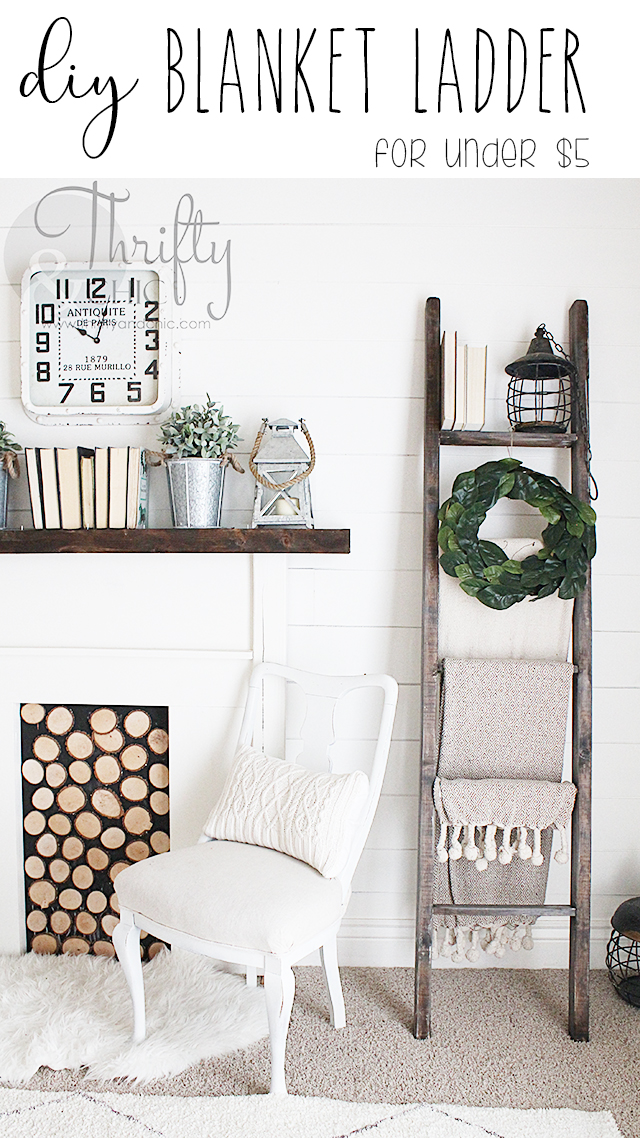
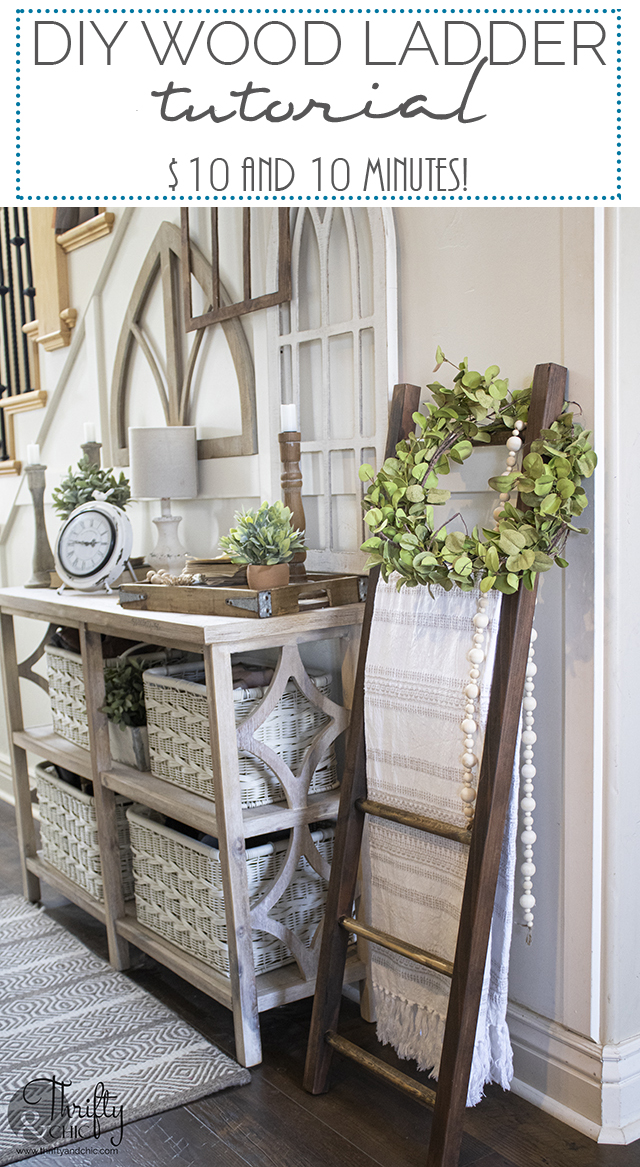
Here's the tutorial to my other DIY blanket ladder. It's one of my top posts, so it must be a good one! :)
Pin this DIY ladder tutorial for later:
Follow me on my social for sneak peaks, live videos, and fun new things that are going on!
Disclosure of Material Connection: Some of the links in the post above are “affiliate links.” This means if you click on the link and purchase the item, I will receive an affiliate commission. Regardless, I only recommend products or services I use personally and believe will add value to my readers. I am disclosing this in accordance with the Federal Trade Commission’s 16 CFR, Part 255: “Guides Concerning the Use of Endorsements and Testimonials in Advertising.”









0 comments