This post contains affiliate links:
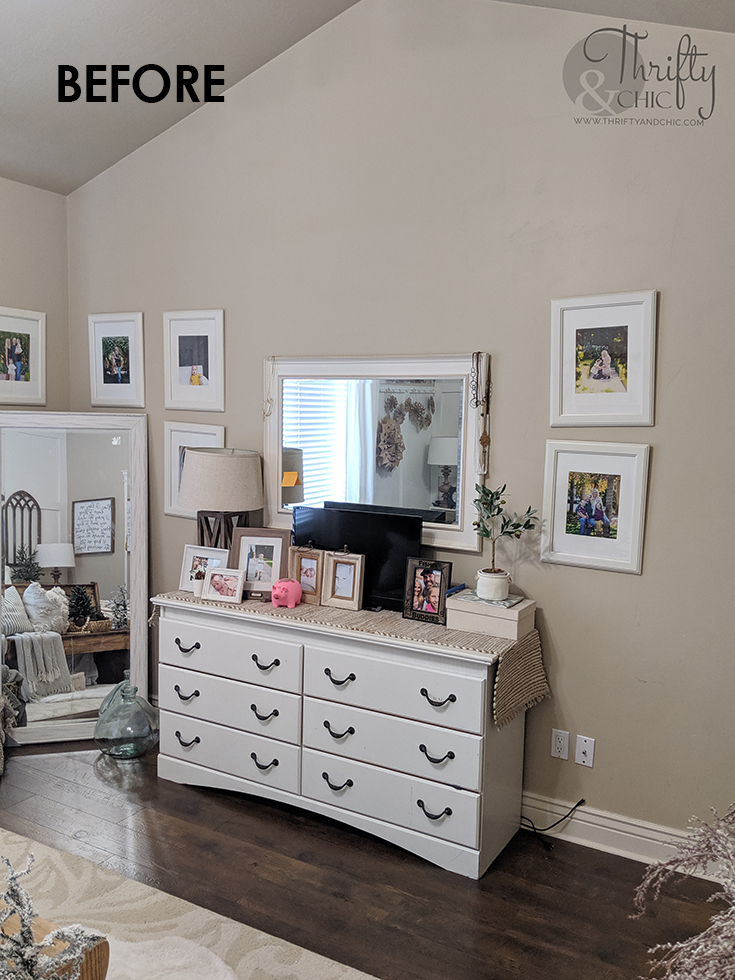
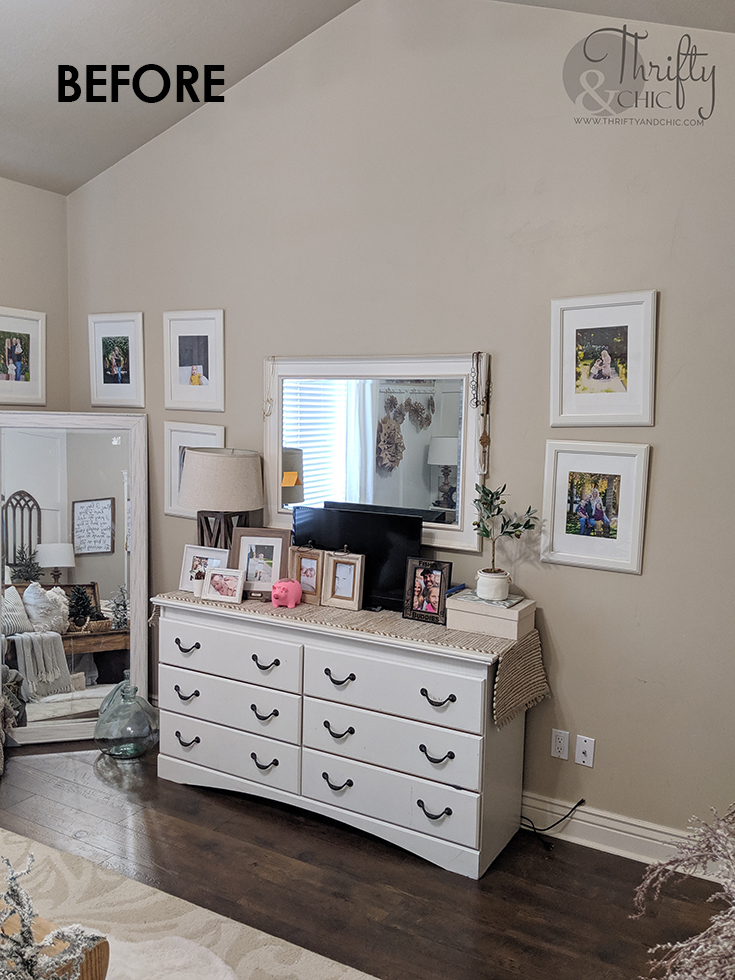
This has been a long time coming! I don't share this side of my bedroom, like ever. Maybe little bits and pieces every couple of years, but that's it. It wasn't pretty. It was a catch all, and I seriously was so stumped with what to do with this gigantic wall. I wanted a gallery wall, but didn't want to continue on how it was going. Here's the before:
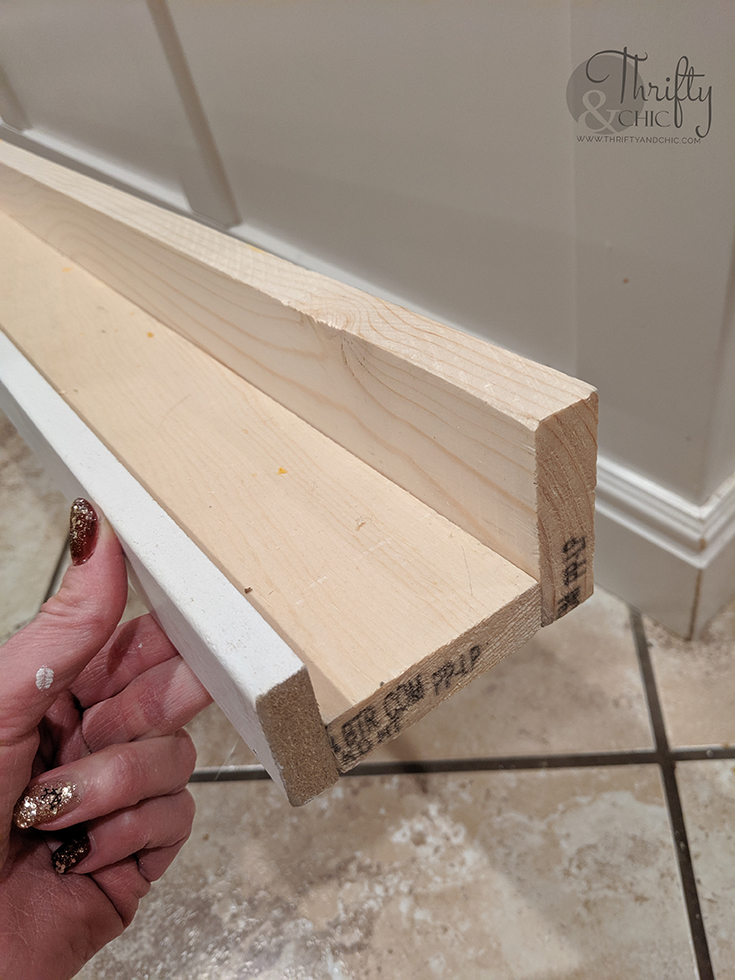
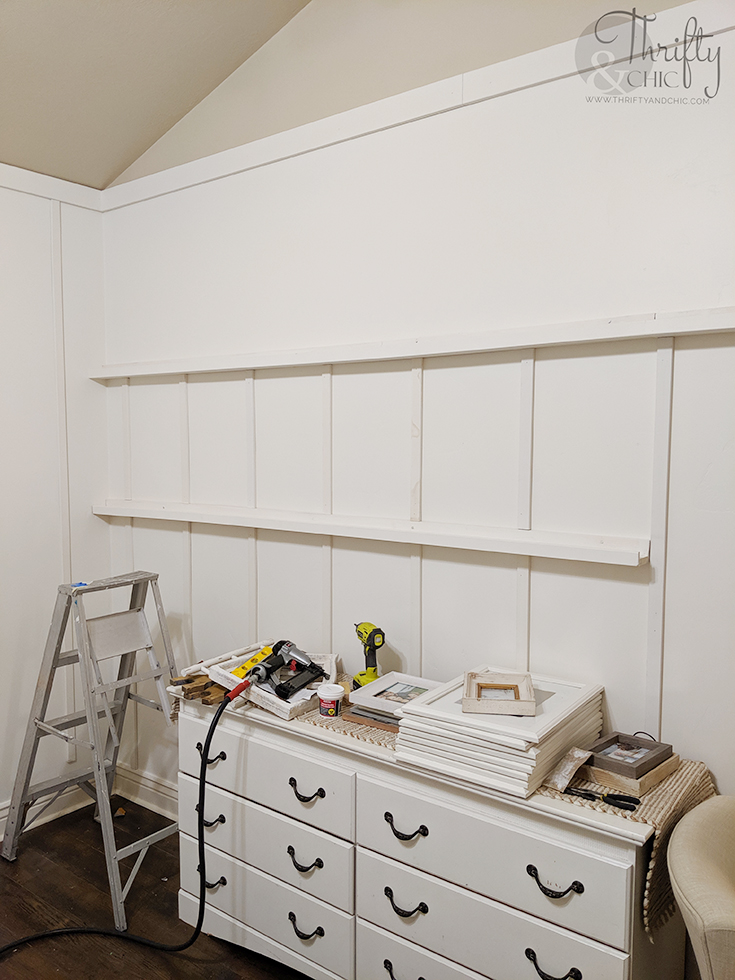
This wall is long, 12 feet to be exact. So, I made two picture ledges, one at 12 feet and one at 8 feet. I used a 1x3 for the back and then glued and screwed in another 1x3 at the bottom. I then finished off the front with a 1.5" piece of molding. Using the molding on the front gave it a more finished look. I used 1 1/4" brad nails to secure the molding along with wood glue.
With the ledges made, I had to figure out the placement on the wall. My husband wasn't home to help with this so I had to teeter some things around to get a height to look at to see if I liked it or not, so....meet candlestick on pot and pot on ladder :) ha! It worked out pretty well. I knew I wanted to add my big pictures to the dresser to carry on the gallery wall, so this little set up gave me an idea of where to put the first ledge.
With the ledges made, I had to figure out the placement on the wall. My husband wasn't home to help with this so I had to teeter some things around to get a height to look at to see if I liked it or not, so....meet candlestick on pot and pot on ladder :) ha! It worked out pretty well. I knew I wanted to add my big pictures to the dresser to carry on the gallery wall, so this little set up gave me an idea of where to put the first ledge.
I then found the studs in the wall, and countersunk a screw into the back 1x3 and into the stud. I then found the height I wanted for the top shelf and did the same. I made sure this whole ledge was level the entire time, with each screw into the wall.
Of course once those shelves were up I had to play around with the look until I found all the molding. It seriously took me 4 stores to get enough decent molding to finish this project. I first added the molding to the top where to ceiling line was. This is 3.5" molding.
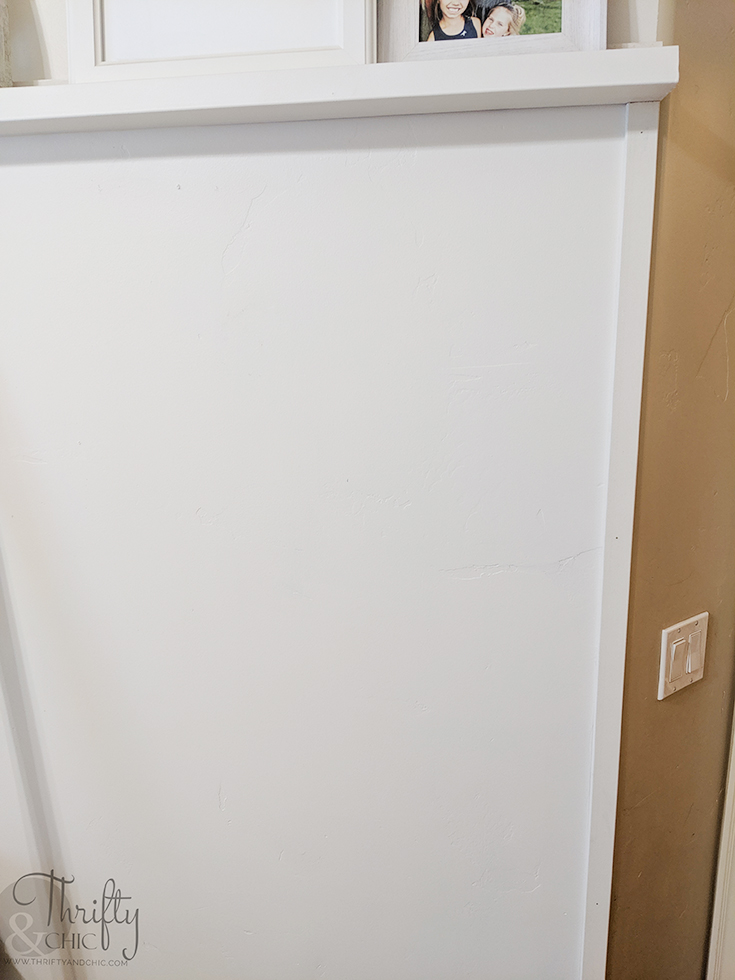
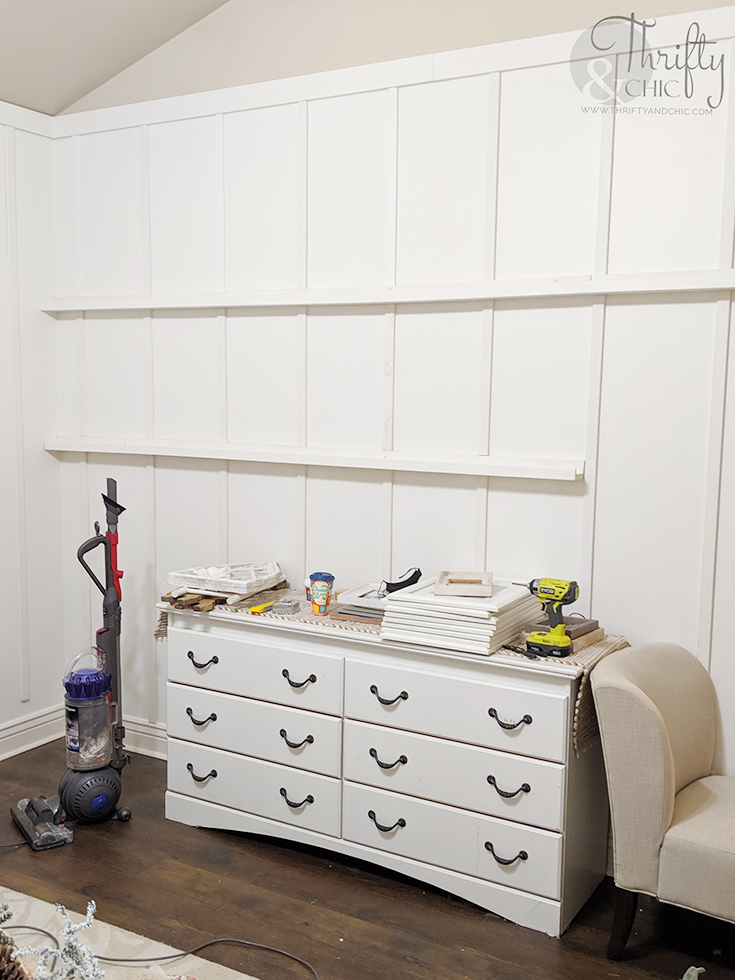
Once I found enough of the other molding, I went to work and started adding the board and batten. I started on the end, and then went every 14". I found that to be the perfect width. I did this width in my front room also.
I then eyed the placement of the second tier. I could have measured, but figured it would be best to go by eye since that's how I would be noticing if it was off anyway.
I then added the top molding the same way.
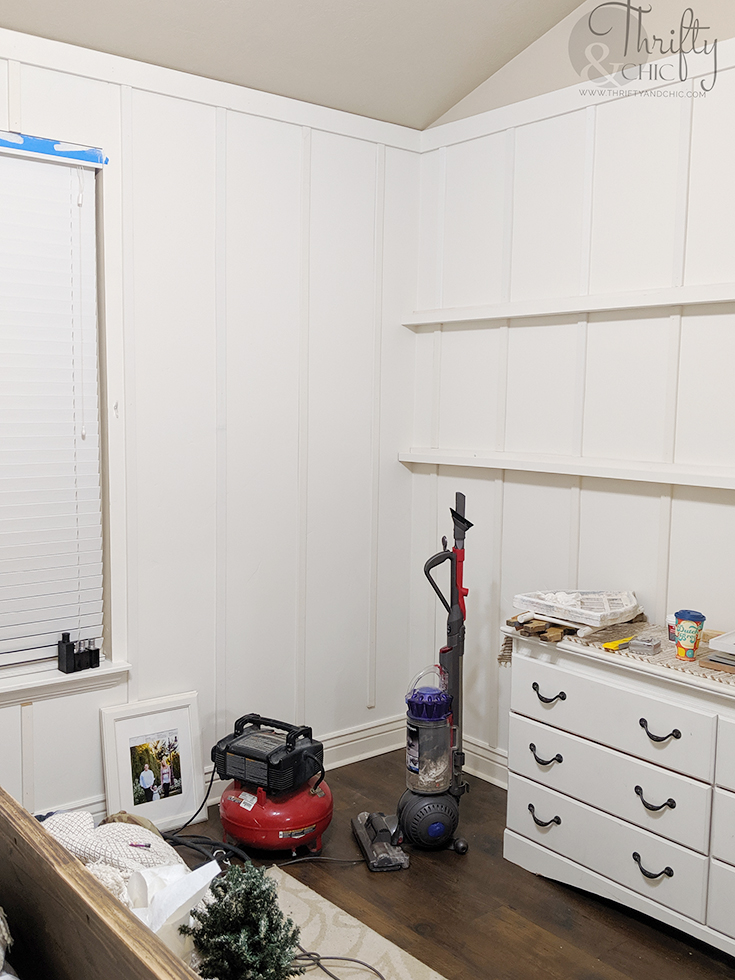
I carried the molding to the other wall.
I then filled in all the holes and cracks with some dry wall spackling, sanded it, and painted the molding to match the wall. This color is Pepple White by Glidden. It's a soft white to match my already painted molding and doors.
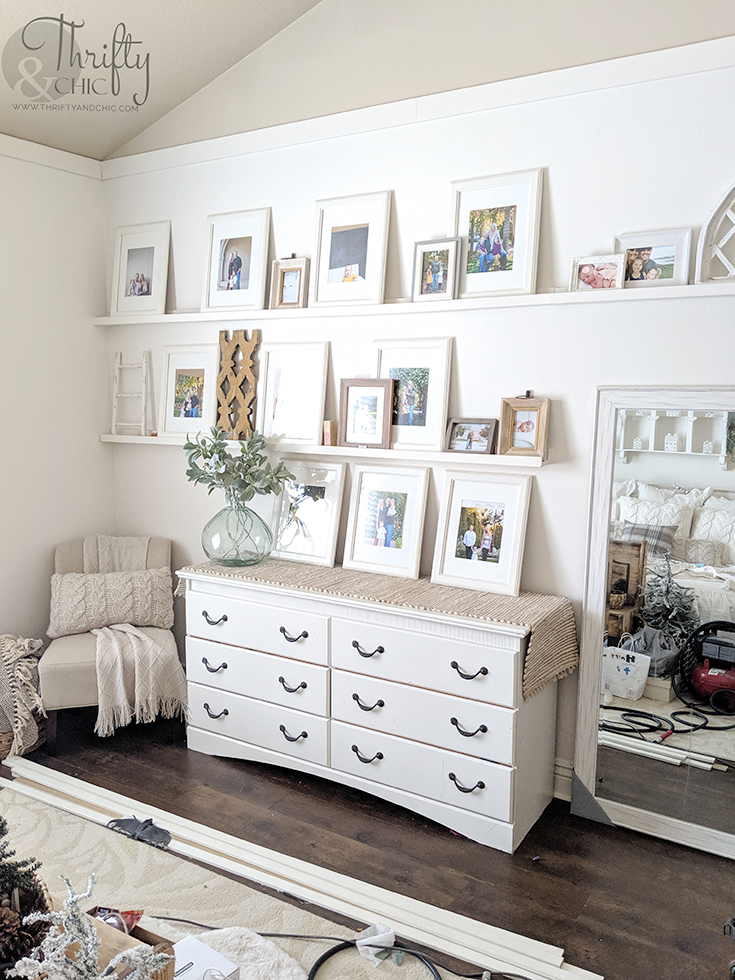
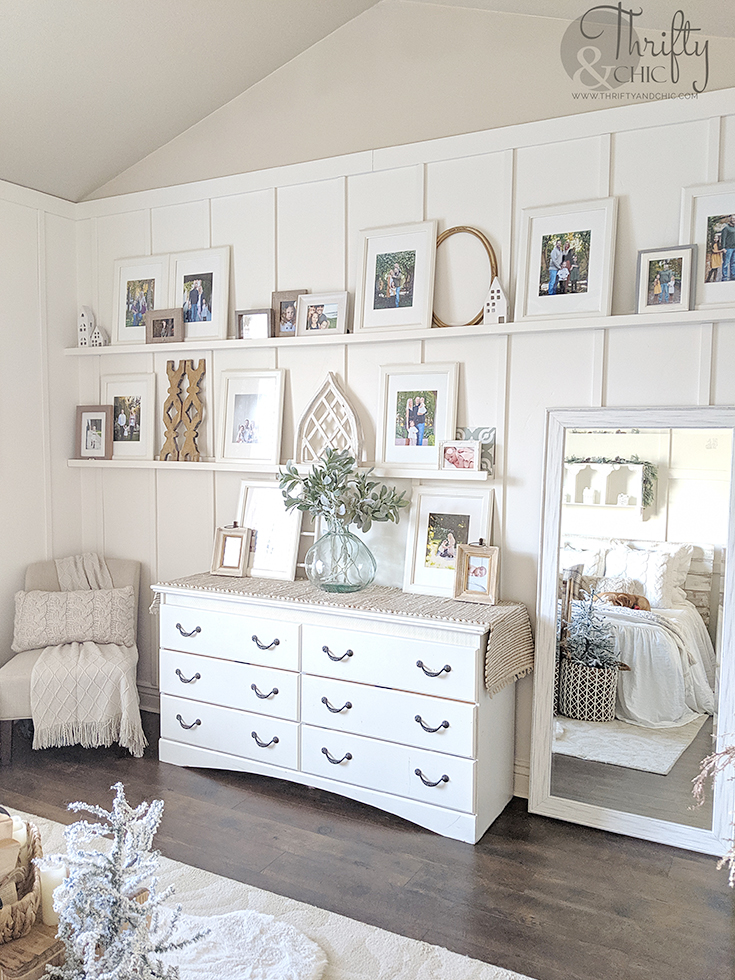
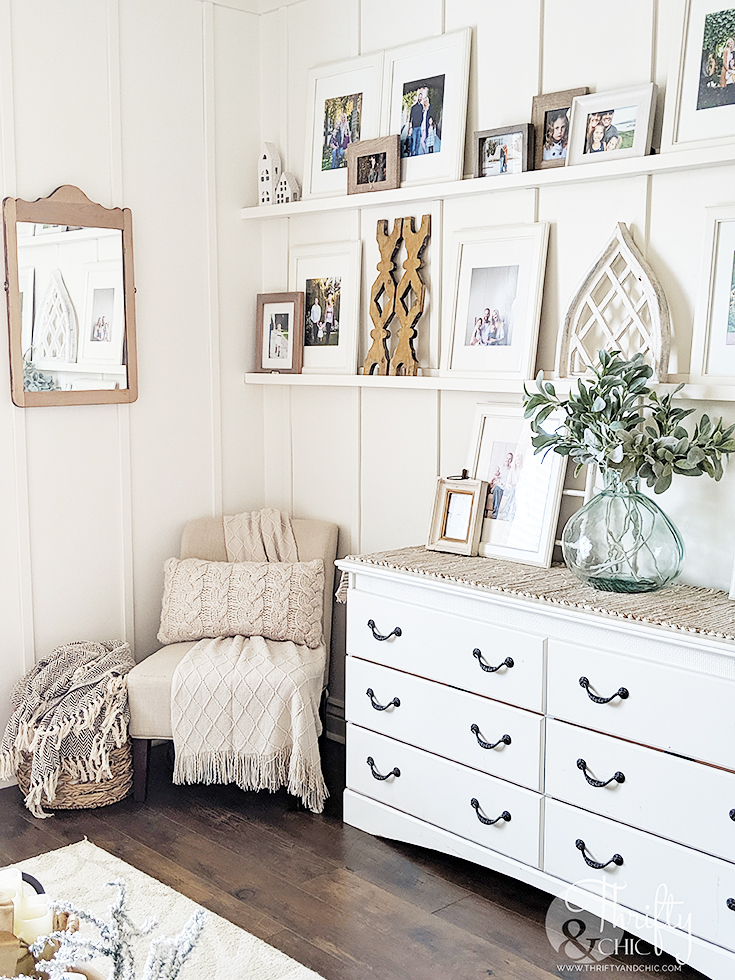
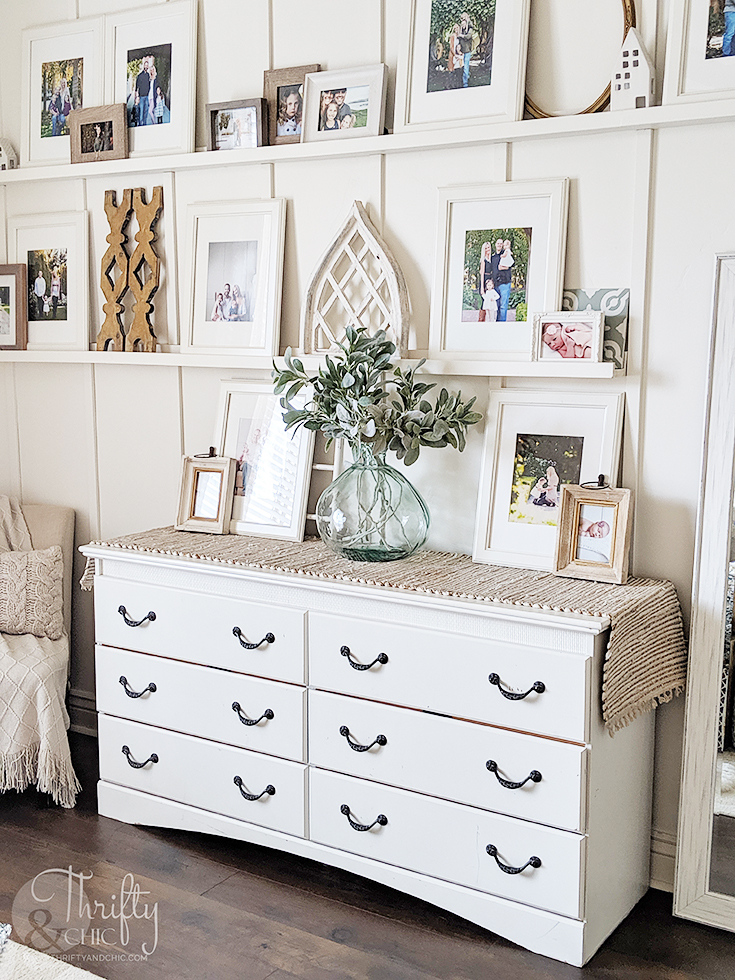
Next step was to decorate! I went with lots of whites to keep this from looking too busy. We have a picture up there from every year since we had our first baby. I have a few more frames to add for more years when they come.
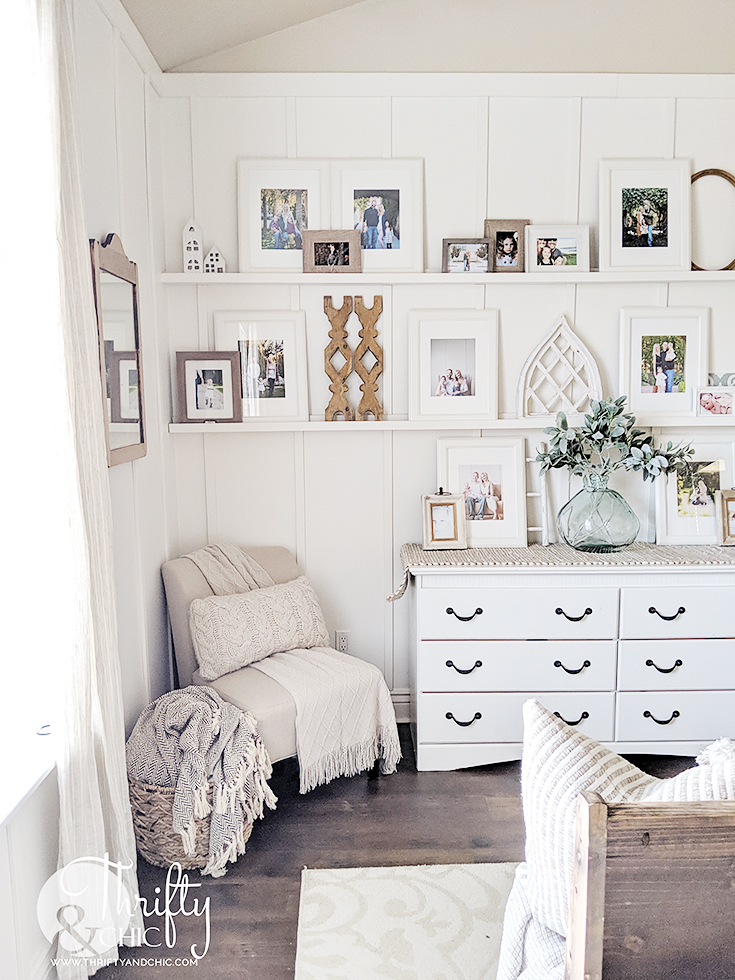
I also added this cozy corner and this antique mirror I found. I took a chair out of here a few years ago since it became the laundry chair and got messy real quick. I'm hoping that since this are is now pretty and not a hot mess that it'll stay clean. Crossing my fingers!
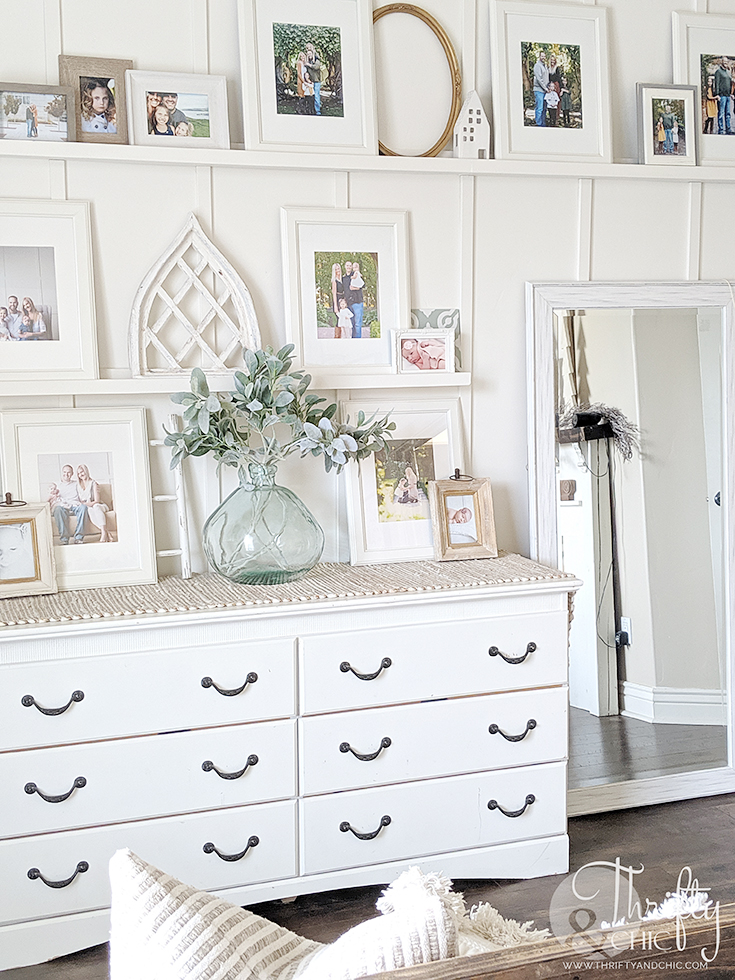
I only did 8 feet of the DIY picture ledge on the bottom so I could add this floor length mirror. It will probably get hung, eventually :)
Within the big family pictures, I added smaller ones and layered the ones I could. I then added a few other pieces in between to break up the pictures.
I love how much this brightened the space up! It also made it sooo much bigger somehow! The white helped a ton, and then adding the lines upwards with the board and batten really opened this space up. It feels so grand in here now.
Here's the before shot again:
And the after!
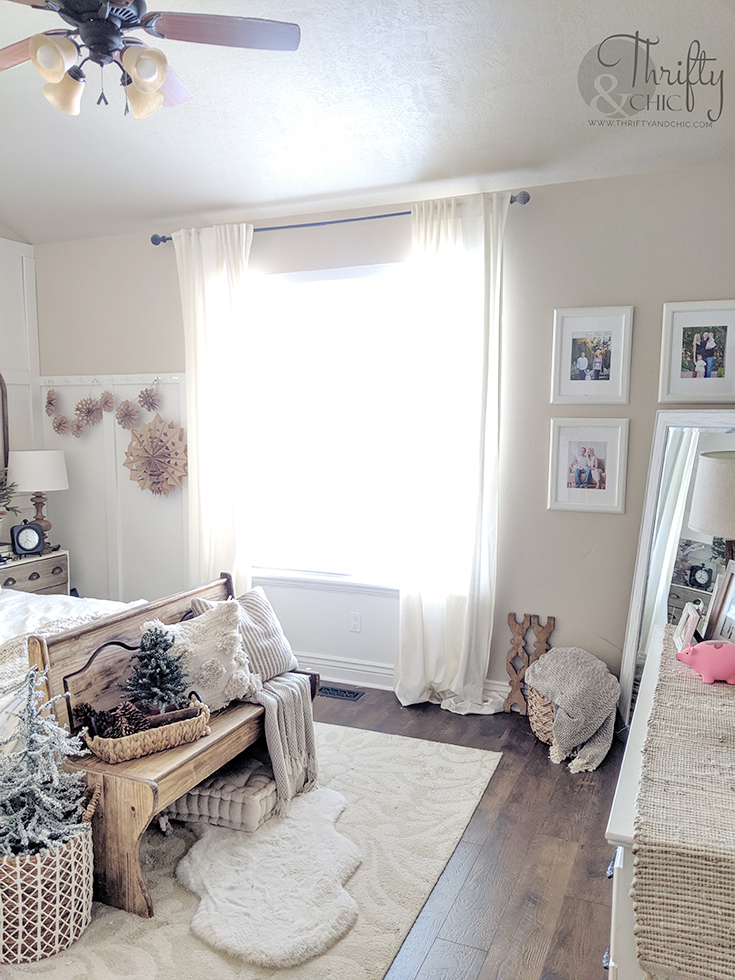
And here's another sneak peak at the rest of the room :) Here's the before:
And the after! I will eventually redo that back wall to match the other smaller molding. I seriously am not looking forward to patching drywall from taking off some of those pieces :) ... so that project is quite a ways down the road.
This project was sooo needed. I hated this side of my bedroom for years and years and years...obviously since I never shared it on here. The only problem was the cost! Molding and wood is crazy expensive now....and finding quality molding and wood is like finding a needle in a haystack -thus the 4 stores deal. I always wanted floor to ceiling board and batten in here, and I finally have it! Now I want some faux beams :) How pretty would that be?!
I only did 8 feet of the DIY picture ledge on the bottom so I could add this floor length mirror. It will probably get hung, eventually :)
I love how much this brightened the space up! It also made it sooo much bigger somehow! The white helped a ton, and then adding the lines upwards with the board and batten really opened this space up. It feels so grand in here now.
Here's the before shot again:
And the after!
And here's another sneak peak at the rest of the room :) Here's the before:
And the after! I will eventually redo that back wall to match the other smaller molding. I seriously am not looking forward to patching drywall from taking off some of those pieces :) ... so that project is quite a ways down the road.
This project was sooo needed. I hated this side of my bedroom for years and years and years...obviously since I never shared it on here. The only problem was the cost! Molding and wood is crazy expensive now....and finding quality molding and wood is like finding a needle in a haystack -thus the 4 stores deal. I always wanted floor to ceiling board and batten in here, and I finally have it! Now I want some faux beams :) How pretty would that be?!
Pin for later:
Disclosure of Material Connection: Some of the links in the post above are “affiliate links.” This means if you click on the link and purchase the item, I will receive an affiliate commission. Regardless, I only recommend products or services I use personally and believe will add value to my readers. I am disclosing this in accordance with the Federal Trade Commission’s 16 CFR, Part 255: “Guides Concerning the Use of Endorsements and Testimonials in Advertising.”









0 comments