This post contains affiliate links.
I don't do many posts about my kitchen, mainly because it's the one room in my house that my husband does not want me to update. I have dreams for changes in here. One would think it would be to paint the cabinets, it's not. Well, it was a few years ago, but now it's taking out cabinets and adding backsplash and floating shelves. As I wait to pick out the perfect backsplash (I say that as if it's going to happen anytime soon, ha! ), I decided to update this little section of my kitchen.
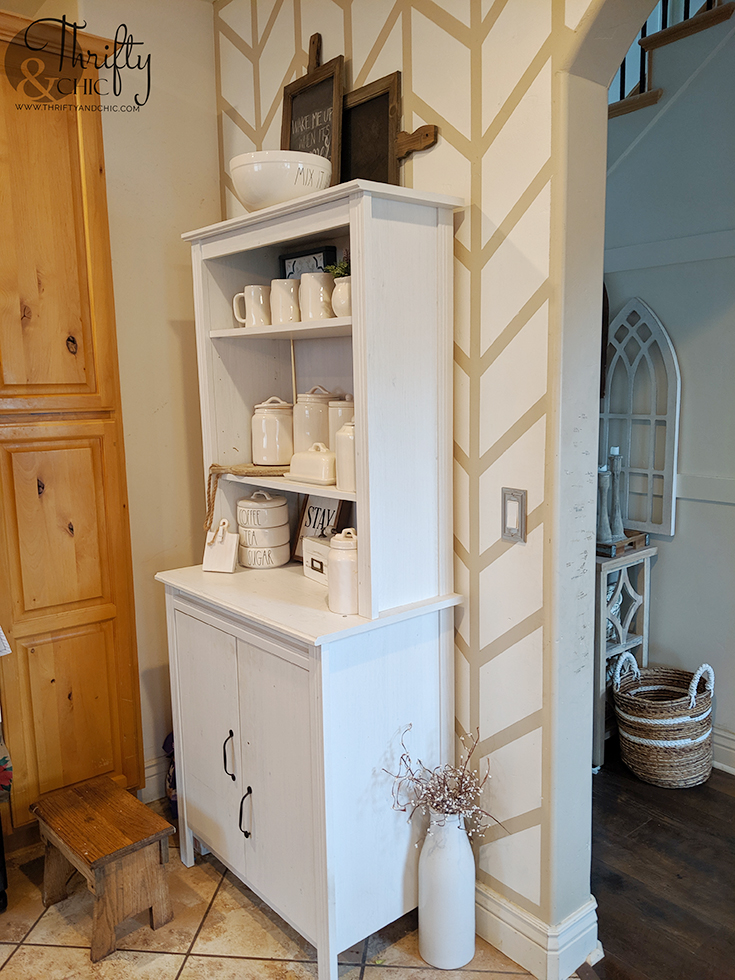
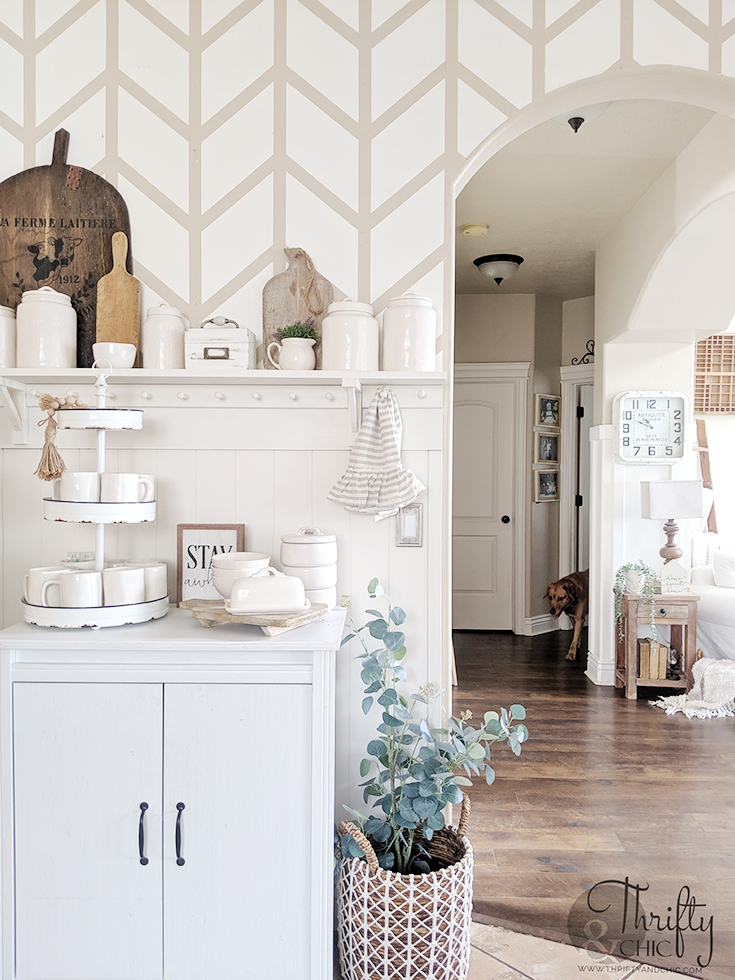
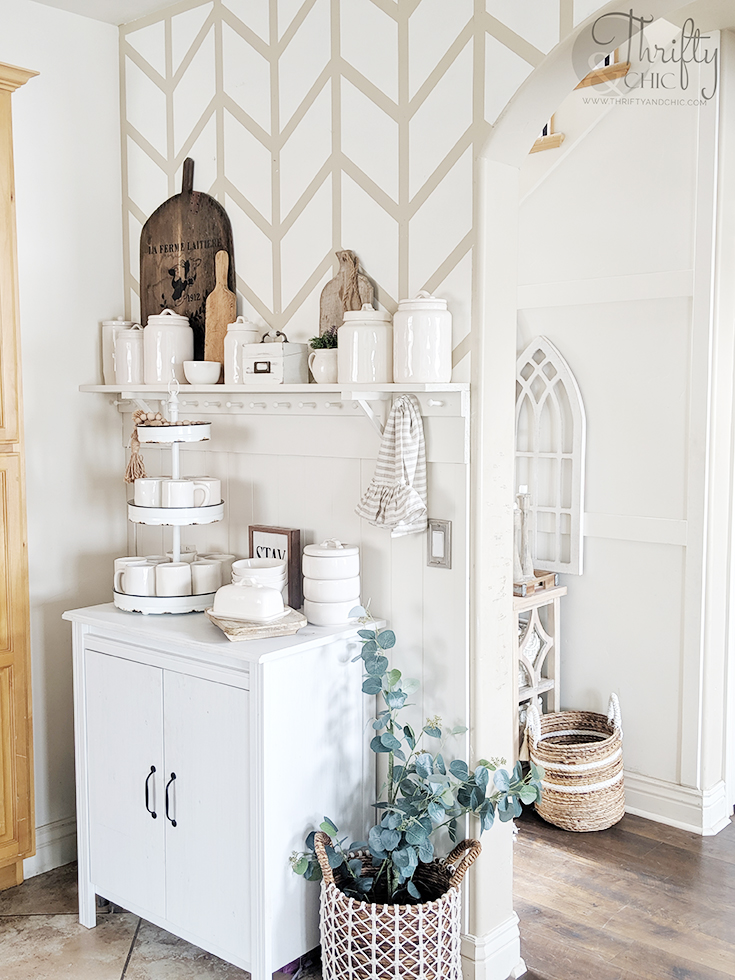
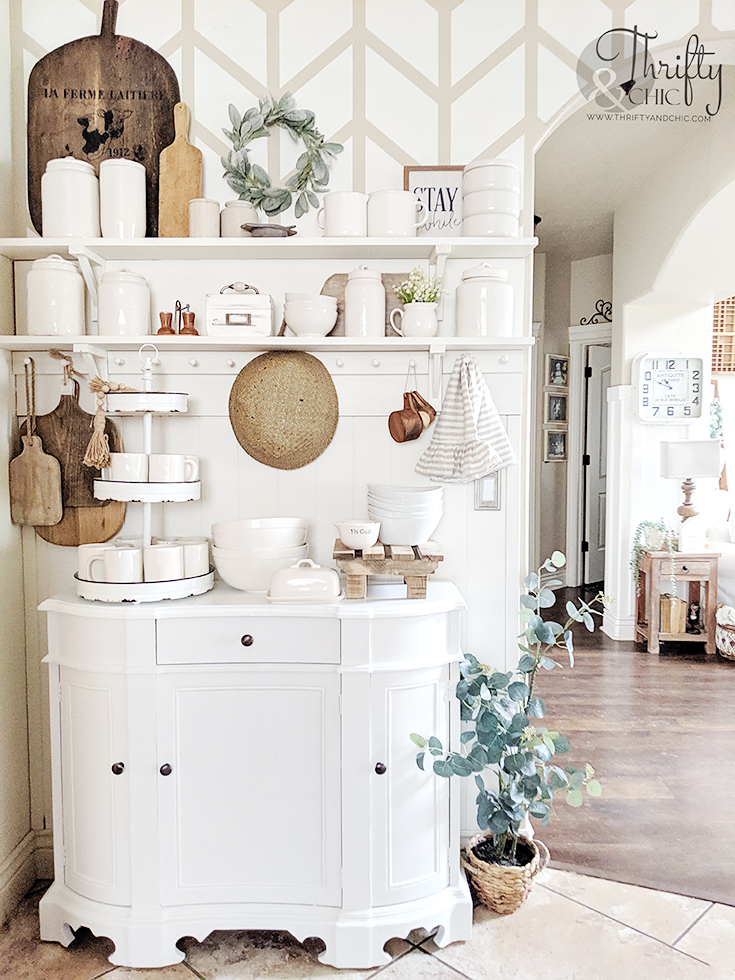
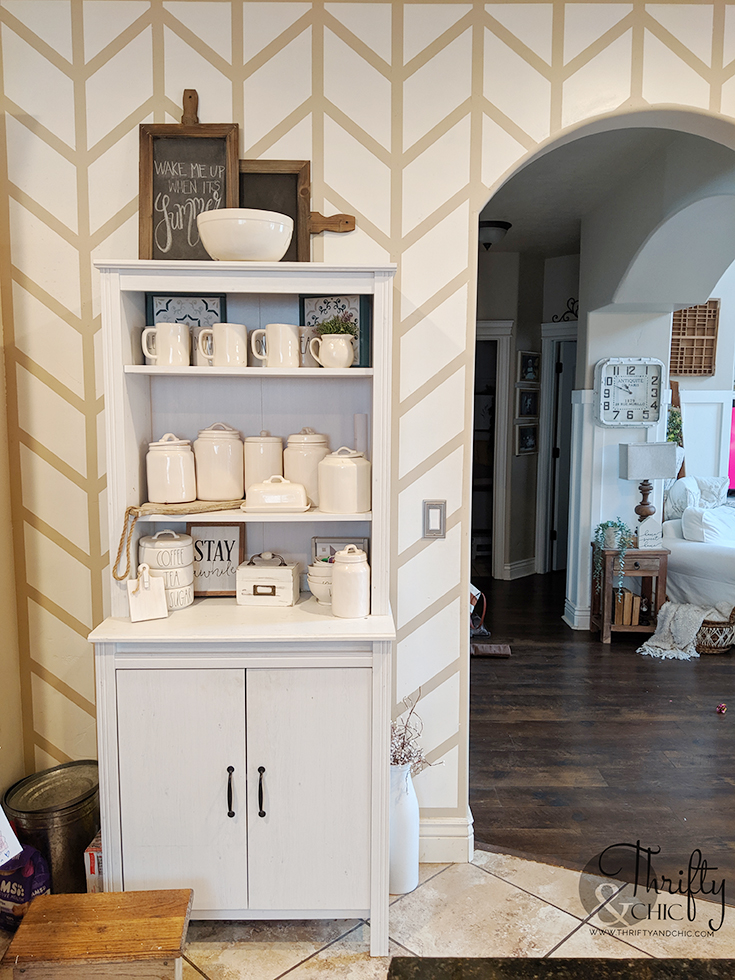
I painted this herringbone wall almost ten years ago, and once I realized that, I knew this whole area needed an update. Seriously, some areas in my house have stayed the same for that long! ha! A couple of years ago, I added this hutch to this wall. It didn't fit the space well, but it added the extra space for a pantry that I definitely needed. See that little cabinet to the left of the hutch? That is all I have for a pantry. Yep. A single stack of cabinets. I'm glad God blessed me with a little family! I have been dreaming about those floating shelves in my kitchen for years now, and never got around to adding them where I really wanted them. Mainly because it requires removing cabinets...which requires my husbands approval. And well, you can figure how that is going. Then I had a duh moment, and realized I could get a little of what I wanted by adding some on this empty wall. It was just deep enough and long enough. Here's the finished result:
A few steps went into doing this. Some of which just happened along the way :)
A few steps went into doing this. Some of which just happened along the way :)
First was to paint this herringbone wall...which I couldn't bring myself to do! So, I decided to to see what the shelves would look like with it still on the wall.
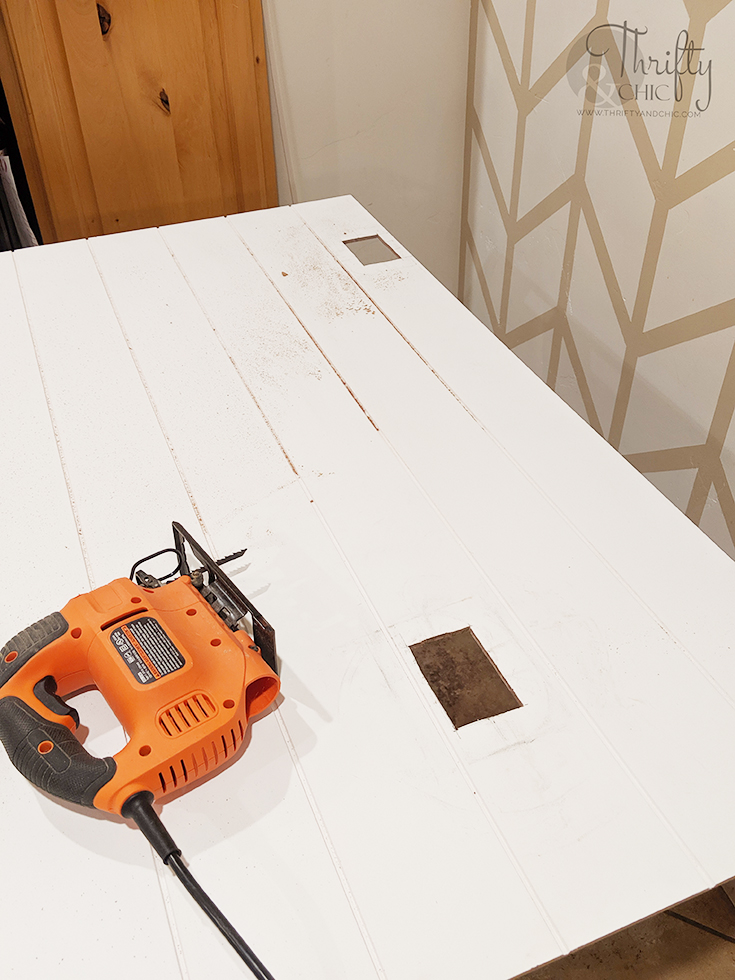
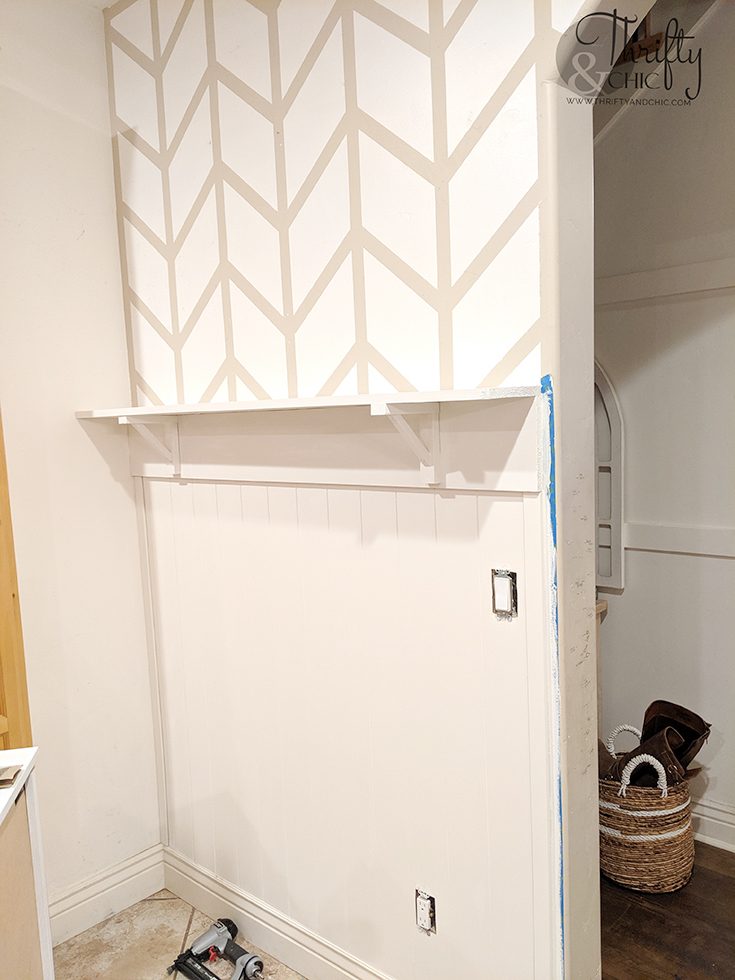
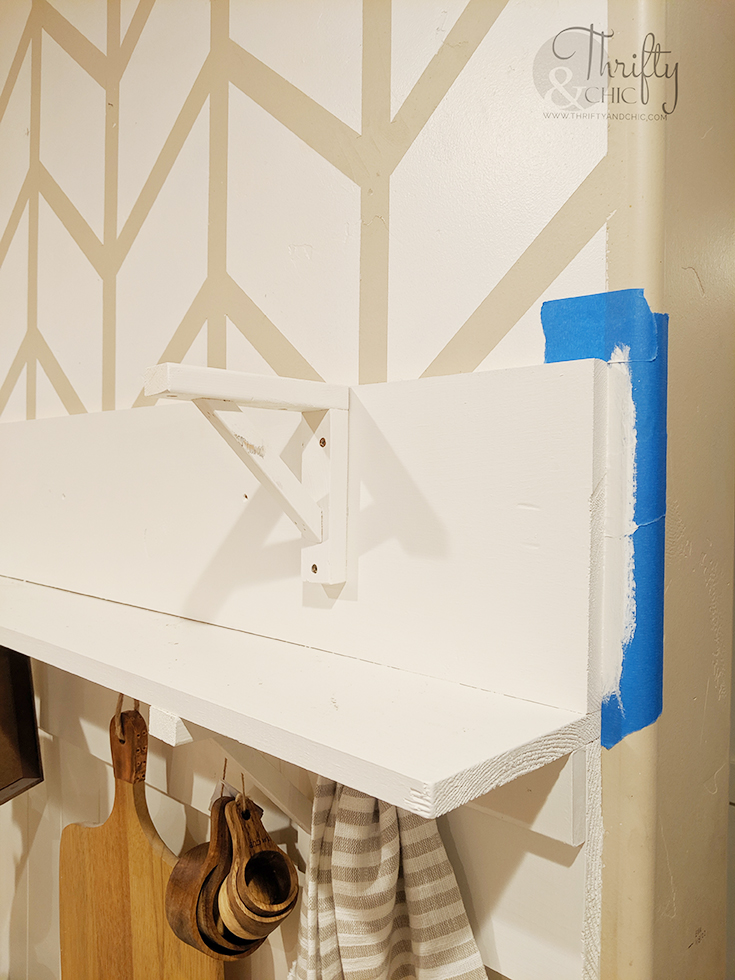
I used this shiplap panel and cut it to size; the length was approximately 56 inches with the height of 48 inches. I then measured and cut out outlet and light switch holes. This was probably the trickiest part of the whole process. Measuring about 8 times to make sure they were perfect. I cut them out with a jigsaw.
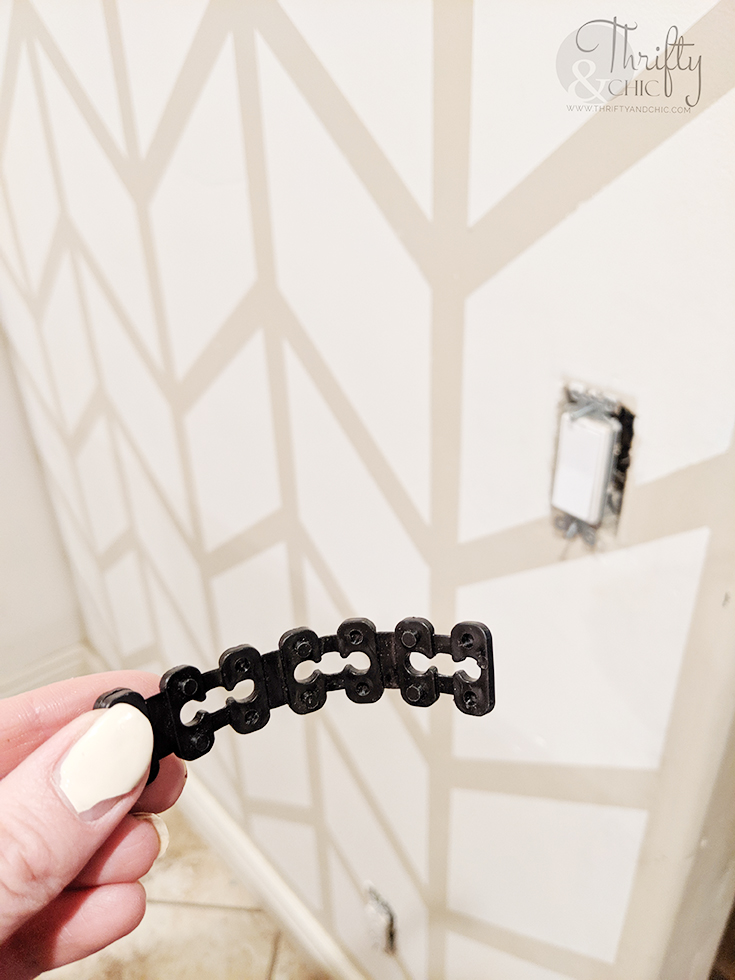
I then needed to extend my switches out just a smidge, so I added these outlet extenders. They are actually quite easy to use. You can youtube how to do it and find tons of tutorials :) Just make sure you have turned off all power to outlets first!
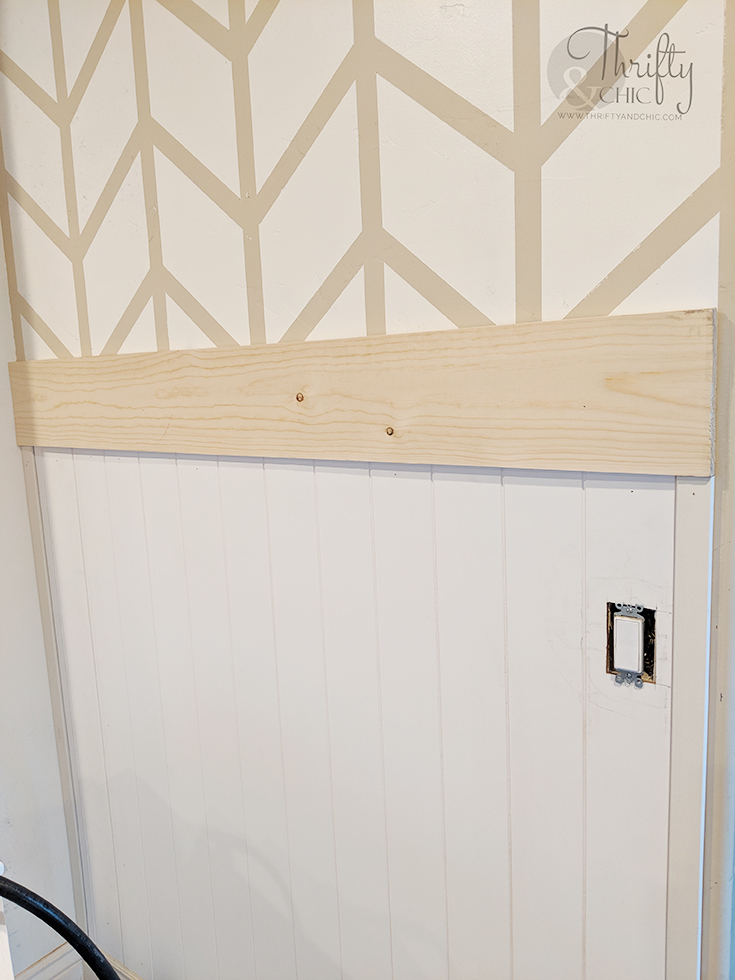
I then secured the vertical shiplap to the wall. I nailed it in with 1 1/2" brad nails.
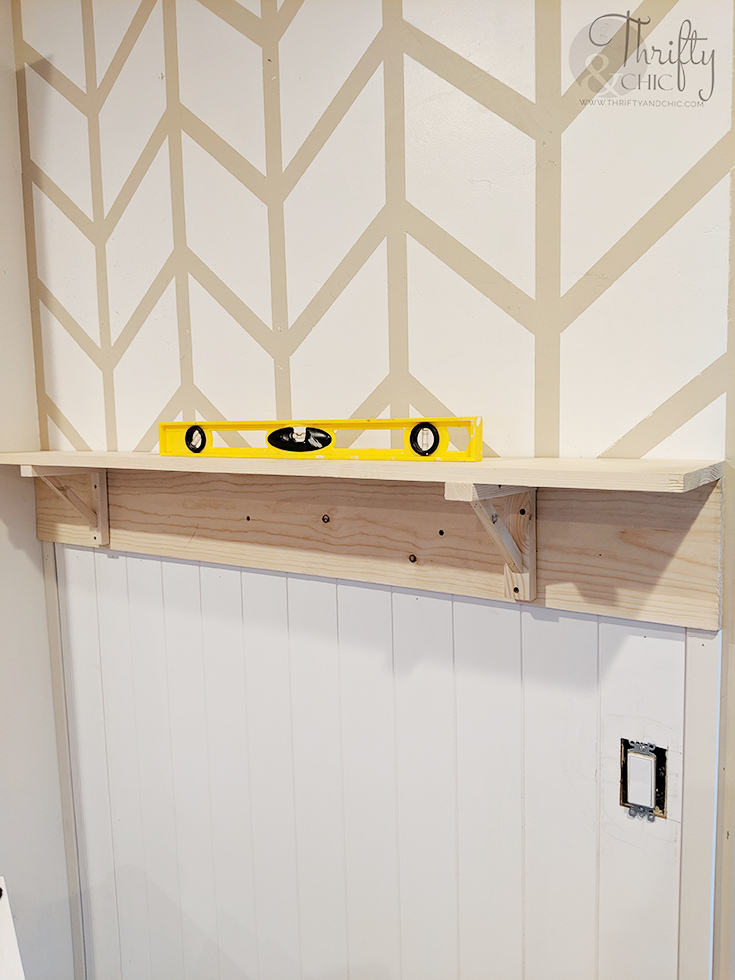
I capped the top with a 1x8 pine board. I secured this board into the studs with 2" screws. I also add a 1x 1.5" piece of molding to the end to finish it off.
I then added these wood brackets. They are easy to make, but if you are like me and just don't want to make them, you can buy them for fairly cheap. I've just had quite the time finding good decent pieces of wood at my local home store and I didn't want to deal with that :) Here's the link of the pair I used: Wood Brackets: Link
To finish this part off, was to paint! At this point, I ran out of pine boards, so I decided to style it while I waiting to get another. I used Glidden's Pebble White. This is a very soft white, and not stark white at all. It has the great warmth with no blue or yellow undertones.
Styling it was mainly to see if I should paint the herringbone. I thought for sure I would end up painting it, but actually still loved the way it looked. It wasn't the complete look I was going for, but it made this wall more unique.
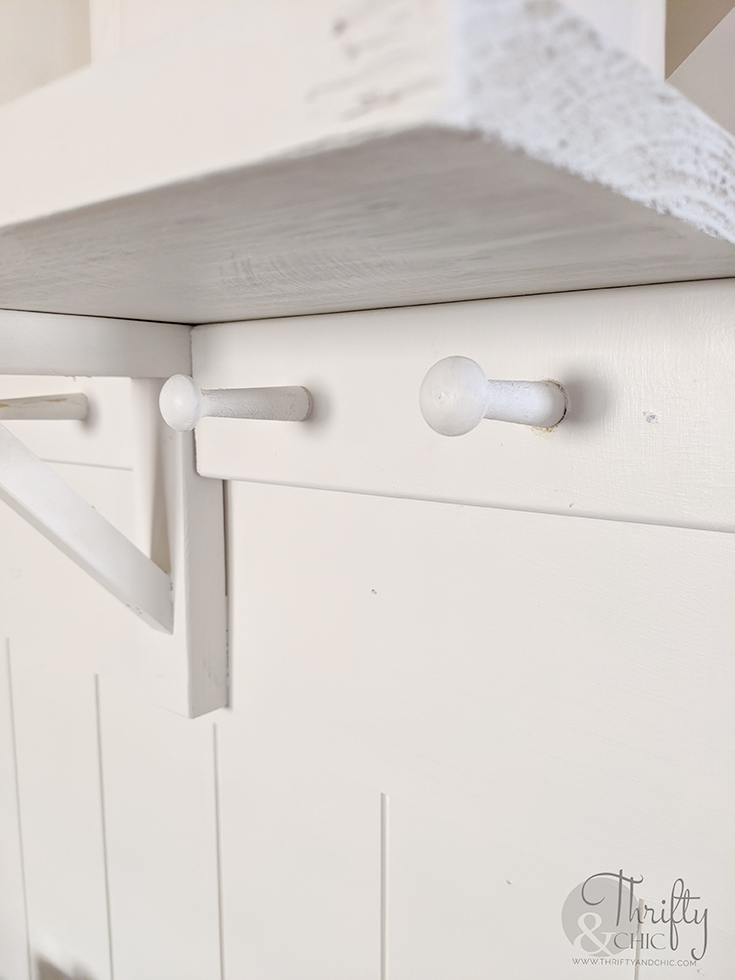
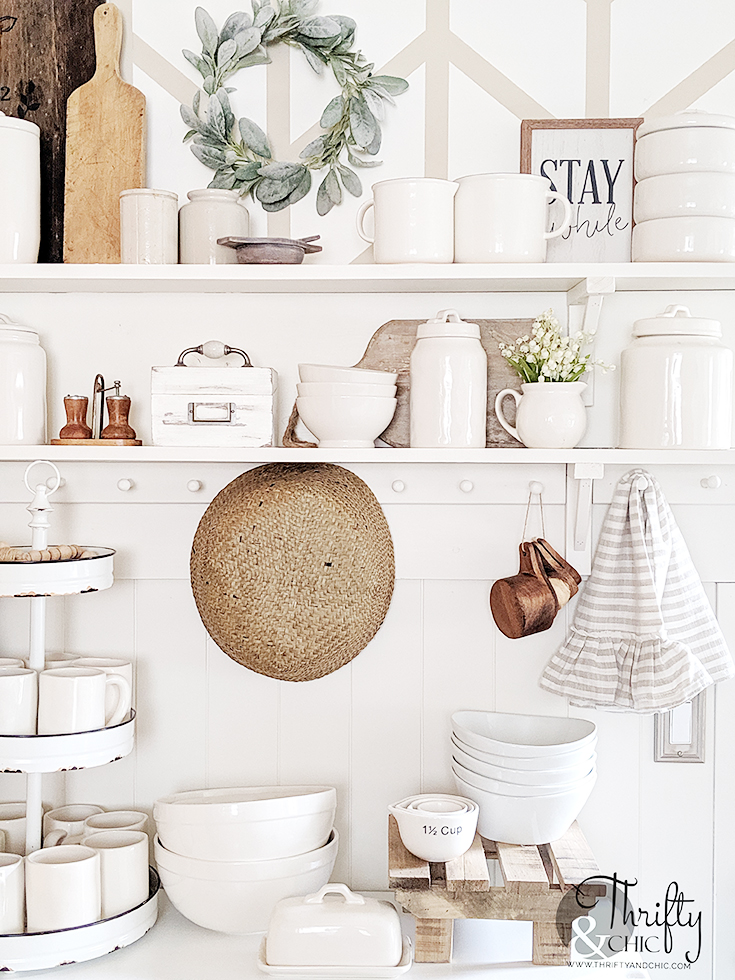
This is when I started adding all the extras :) I created this shaker peg rack using shaker pegs and 1x2.5" molding. I'll do a tutorial on it soon! But for now, you can purchase ones that are already put together here: Shaker Peg Rack
So, now here it is all styled with the shaker peg rack. Made a good difference! As you can see, I was still using the bottom of the hutch that was here before. I was going back and forth on making the perfect cabinet for the space, or finding one used. Luckily, I had time to find the perfect piece :) ...luckily because making the one I wanted would cost roughly $250 with the price of wood right now!
At this point, I decided that one shelf was not enough. So, I added a 1x10" pine board on top of the bottom shelf. I wanted the shelf to sit on the board and not on the wall to keep the look cohesive.
I repeated the process of adding the wood brackets, painting and securing the top shelf.
I then got all my Rae Dunn pieces, added them and turned them around :) I use every one of these for food storage of some sort so I couldn't get rid of them. I know some people still love their Rae Dunn... I do love the style of the pieces, I just think I'm over having words every where :)
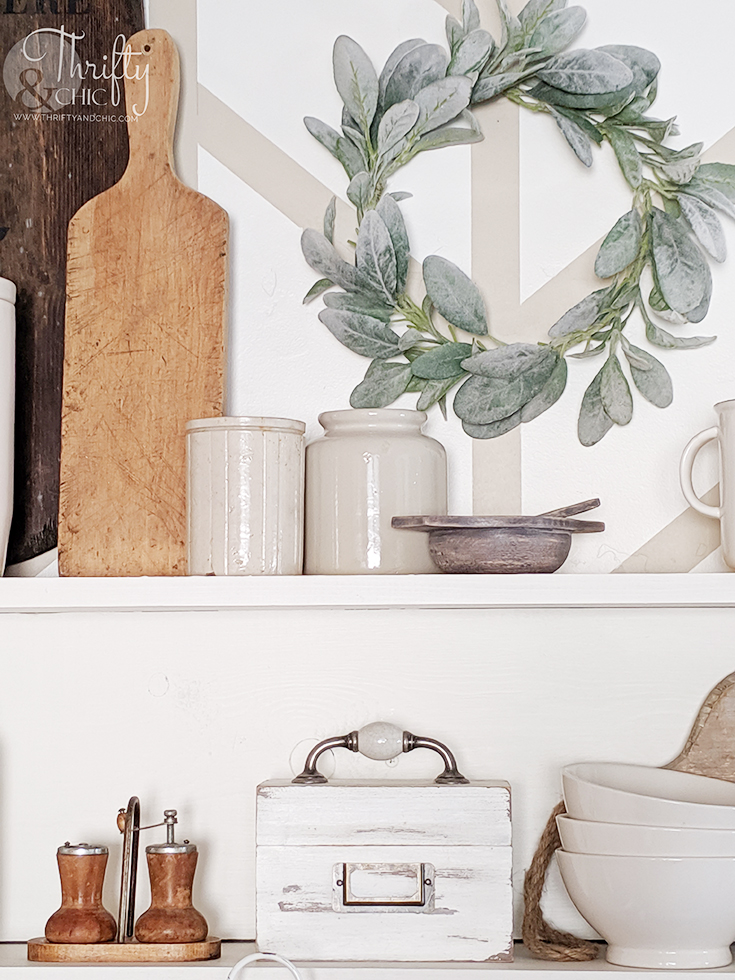
I also added some vintage pieces to go with the new, like this small french crock, mustard crock, spice bowl, and my favorite salt and pepper set that came from my great grandmother.
For the shaker pegs, I added this sweet striped tea towel, these amazing wood measuring cups from Hobby Lobby and a few of my cutting boards/bread boards.
Now for the buffet. It took me about three months to find this piece. I had lots of ones I wanted, but they were either too pricey, too small or too big. I had only so long and so deep for this space. I saw this one, and even though it wasn't the style I initially had in mind, I knew it would be perfect. I love the different compartments since this houses some of my canned goods and snacks for my kids. Kids snacks are on the right, the main section are for canned goods, and the left is to hide the cat food :)
So, what did I do with this hutch? I actually found the perfect place for it in our upstairs landing. It now houses all of our games in the bottom section, and I'm still trying to figure out the decor on the top :)
Disclosure of Material Connection: Some of the links in the post above are “affiliate links.” This means if you click on the link and purchase the item, I will receive an affiliate commission. Regardless, I only recommend products or services I use personally and believe will add value to my readers. I am disclosing this in accordance with the Federal Trade Commission’s 16 CFR, Part 255: “Guides Concerning the Use of Endorsements and Testimonials in Advertising.”












0 comments