Last year I was on a search for a tutorial on how to make these smaller paper bag snowflakes, and couldn't find a single one. So, through a lot of trial and error I came up with the perfect way to do it. I didn't share it last year since I figured it out like the day before Christmas. So, I took some pictures and saved it for this year! I'm sure there's probably a ton of tutorials on how to make these now, but just in case...here's how I made mine :)
Supplies:
Paper lunch bags
Scissors
Stapler
Glue
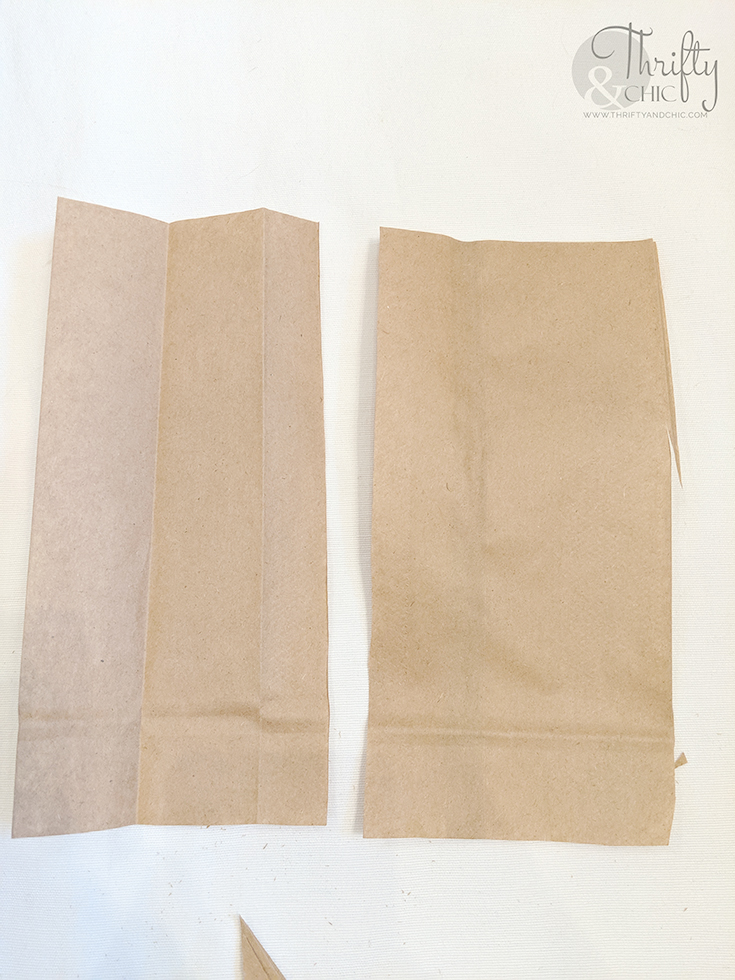
STEP 1: Take a brown paper lunch bag, cut off the top half inch where the little cut in is. Cut the bottom folded part off also.
STEP 2:
For a smaller snowflake, you would then cut one of those halves into two smaller pieces, see below.
STEP 3:
Cut down one of the folded sides of the bag and open up. See below. For a larger-ish snowflake, you would cut this piece into two equal pieces.
Unfold the piece, and staple the very middle -a line should be there where you folded it. If the piece is too long for your stapler, fold the side in, and then staple, then unfold and try to straighten it back out.
Place glue on one side and fold in half again. Secure together. These should look like little fans now.
STEP 7:
STEP 7:
Now for the fun! Cut them up! Choose a design or just play around with some ideas and see how they turn out.
You can do it on both sides or just one.
STEP 9:
You can do it on both sides or just one.
STEP 9:
Now glue one side, and fan the other side open to meet it, and secure.
These are so fun and easy to make. Makes a little mess, but worth it :) I love adding these different size ones with the bigger ones. You can easily change the size for these depending on how you cut them.
Here are a few more...all made from cutting up some lunch bags! Paper bag snowflakes are the best way to add a little extra to holiday decor on the cheap!
Here's how I decorated with these this year.
You can also still find me doing all the behind the scenes things on my social media :)
Pin for later:


0 comments