This post contains affiliate links
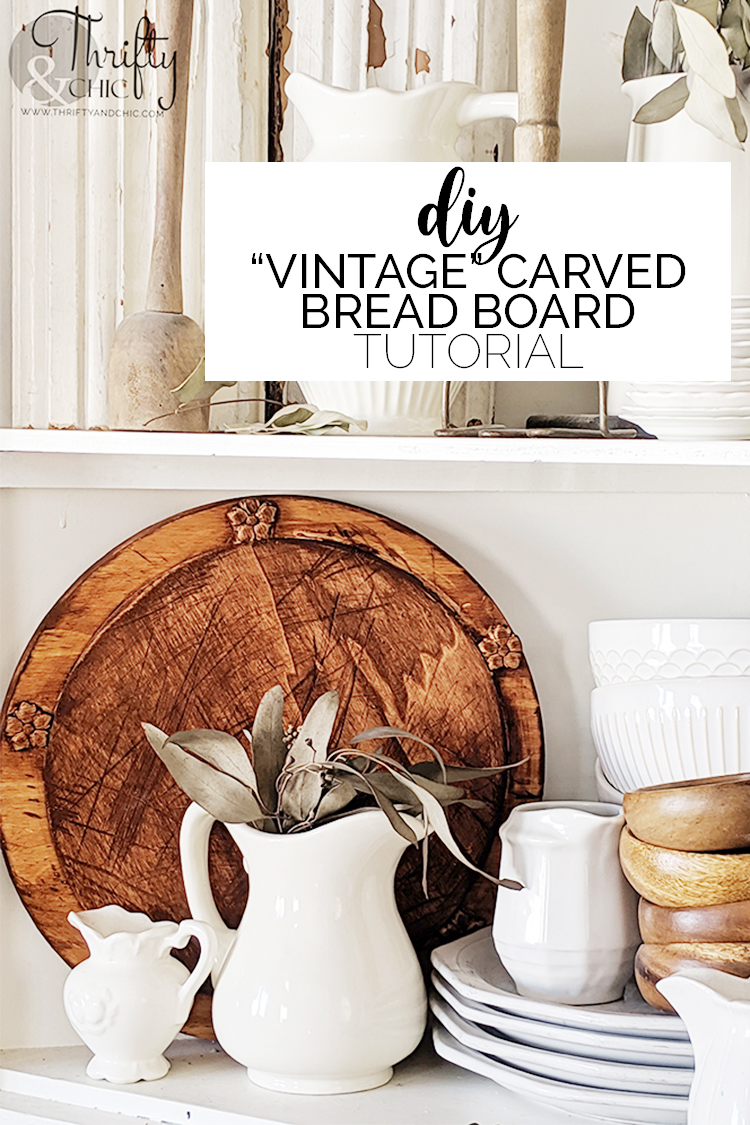
Enter the amazing antique and vintage carved breadboards and cheese boards. I seriously love the look of these things. But have you seen the price of them? I fell in love with one only to see that it was $275 ... like, what?! The cheapest I have found of one of these breadboards is about $100. Now that just blows my mind. I would obviously love to have an authentic carved breadboard, but that's just not going to happen unless I find one for like 20 bucks...haha. So, since I love the look I decided it would be super easy to DIY a replica.
Here are the supplies I used:
10" wood round, 1" thick
8" wood disc, thin
Wood flowers or rosettes, about 1" - you can use wood letters as well
Wood glue
Sandpaper, low grit
Stain
Knife/scissors
Secure the thin wood disc onto the thick wood round with wood glue. Make sure it is centered.
Step 2:
Step 2:
Set the wood flowers/rosettes equidistance around the rounds and secure with wood glue. They may hang slightly off, but that's okay. You'll be sanding them down.
Step 3:
Step 3:
Using weights or something heavy, press the two wood pieces together to make a strong hold with the wood glue. I just throw what weights I can fit on these. One side kept coming up, so I added more glue, and then added weights until it adhered.
Step 4:
Step 4:
Using a course, low grit sandpaper (I use the ones meant for stripping paint), sand the flowers down to meet the edge of the larger wood round.
Step 5:
Step 5:
Using the same type of sandpaper, scratch up both wood pieces.
I also used some scissors to do the same. You can't tell at this point what you are doing exactly, but trust me when I say you'll see it in the next step :)
Step 6:
I also used some scissors to do the same. You can't tell at this point what you are doing exactly, but trust me when I say you'll see it in the next step :)
Step 6:
Add a stain! I used a cherry wood stain for mine. Next time I make one, I'll go a little lighter. This stain resembles the teak breadboards. You can see now what the sandpaper and scissors did.
Step 7:
Step 7:
If you want to add more "cut" marks and wear, use the scissors and even the sandpaper again to make more indentations.
Then simply add more stain over it. This adds more age especially to the areas that don't hold stain well on the surface.
To those areas that don't hold stain well, I scuffed up a little with sandpaper as well.
And then added the stain. Worked perfect!
And that's it! This whole project cost me around $10. I got all the supplies from Hobby Lobby. Just make sure you go on the week that their craft wood is on sale.
I added this into my corner hutch in my dining room for now. I may move it around. Also adding a whitewash to it would be pretty now that I'm looking at these pictures :) I'm excited to try another one and add words! Hobby Lobby also carries small 1" wood letters that would work perfect for this project.
This is of course, not to be used for actual food since the stain is on it, but it sure looks like it's been loved and cut upon a lot!
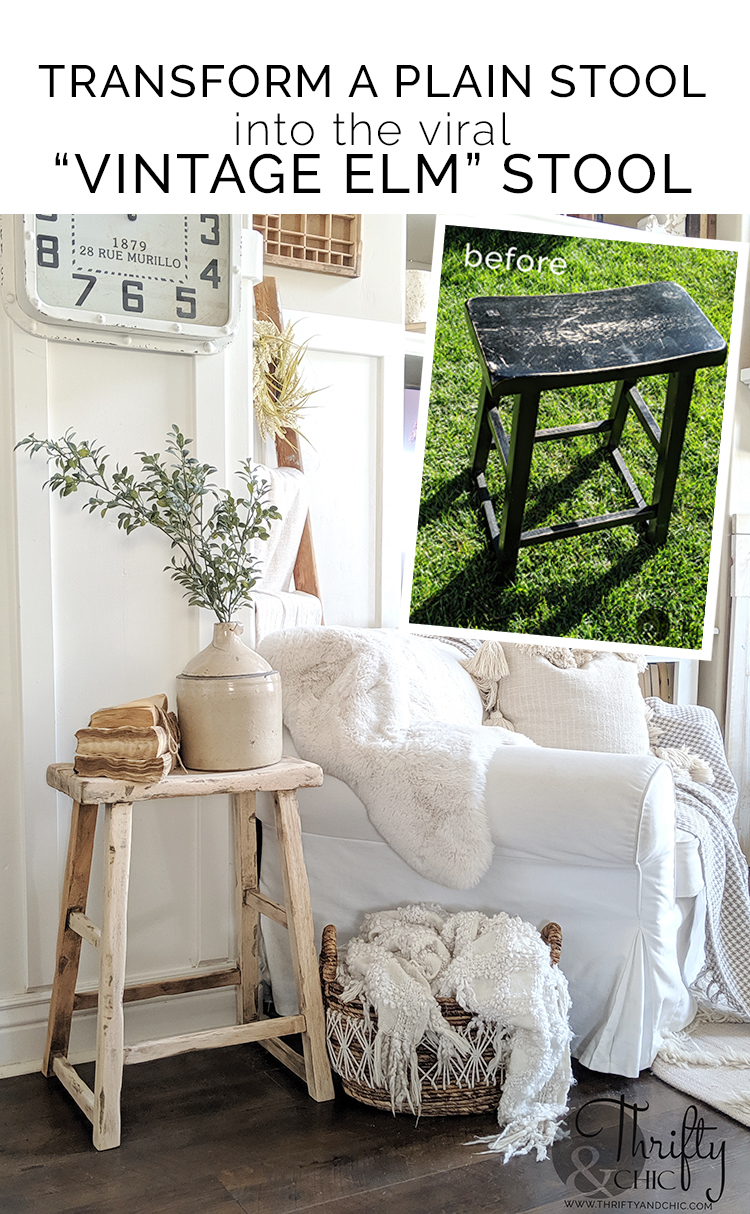
I have another way that I faked the look of something I couldn't dish out the money for with my "vintage" elm stool. You can see the full tutorial for that here >>
This is of course, not to be used for actual food since the stain is on it, but it sure looks like it's been loved and cut upon a lot!
I have another way that I faked the look of something I couldn't dish out the money for with my "vintage" elm stool. You can see the full tutorial for that here >>
Pin this vintage carved breadboard tutorial for later!
Disclosure of Material Connection: Some of the links in the post above are “affiliate links.” This means if you click on the link and purchase the item, I will receive an affiliate commission. Regardless, I only recommend products or services I use personally and believe will add value to my readers. I am disclosing this in accordance with the Federal Trade Commission’s 16 CFR, Part 255: “Guides Concerning the Use of Endorsements and Testimonials in Advertising.”


0 comments