This post my contain affiliate links.
Step 1:
With a fine grit sand paper, sand down rough spots on the door and door jam, and areas that the paint is clearly peeling up. Once this is done, wipe it down with a wet cloth and let dry. Make sure all the dust and dirt is off.
Using painter's tape, tape off all the areas around the door you don't want to paint. I used an exterior tape on my stucco that worked really well. Since my french doors have a window in the middle, I just used normal interior Scotch painter's tape on that. I also placed some around my door knob. I could have taken off the door knob, but this worked just as well :)
Step 3:
Step 3:
As for the paint, I used a Satin finish of Behr's exterior paint and primer in Dark Truffle. I only got a quart, and it was enough to finish these doors, and the ones in the back. That being said, I also don't have the middle parts to paint :) This color was perfect...I was wanting something dark...almost black, but not black since the rest of my house is mainly brown. The garage is brown as well, so this color was dark enough, but still had the hint of brown I wanted. You can see the difference in the colors below.
I used an angle brush that helped get into all the corners. It's important to go for the premium brushes with projects like this to help minimize the brush strokes.
And you guys....that was seriously it. It took the most time to sand the trim and door jam, but after that, the painting was so easy. It turned out better than expected. I don't know why I waited years to do this. I just felt like if I ruined it, it was out in the open for everyone else to see! But, it was just like painting anything else. Clean, sand, clean, tape, paint. Done.
One thing I did learn, is to not paint the door shut. Ha! For reals. I didn't even think about that, luckily I tried to open it before it ruined anything. So, it's a good idea to keep the door open for a few hours if possible to make sure it has had time to dry completely before shutting the door.
I feel like this simple change has totally brought this space back from looking dingy. No matter how clean it was, it always felt like it was dirty.
As for the rest of my porch, here's a view at the other door. Now that door has been weathered as well and needs a good new top coat, but that will have to wait for next year. I have to decide if I want to keep the natural knotty alder wood or stain it darker. What do you think? I like the darker look outside, but the natural wood is what is all inside.
With these pictures you can kind of see how I have two front doors.
With these pictures you can kind of see how I have two front doors.
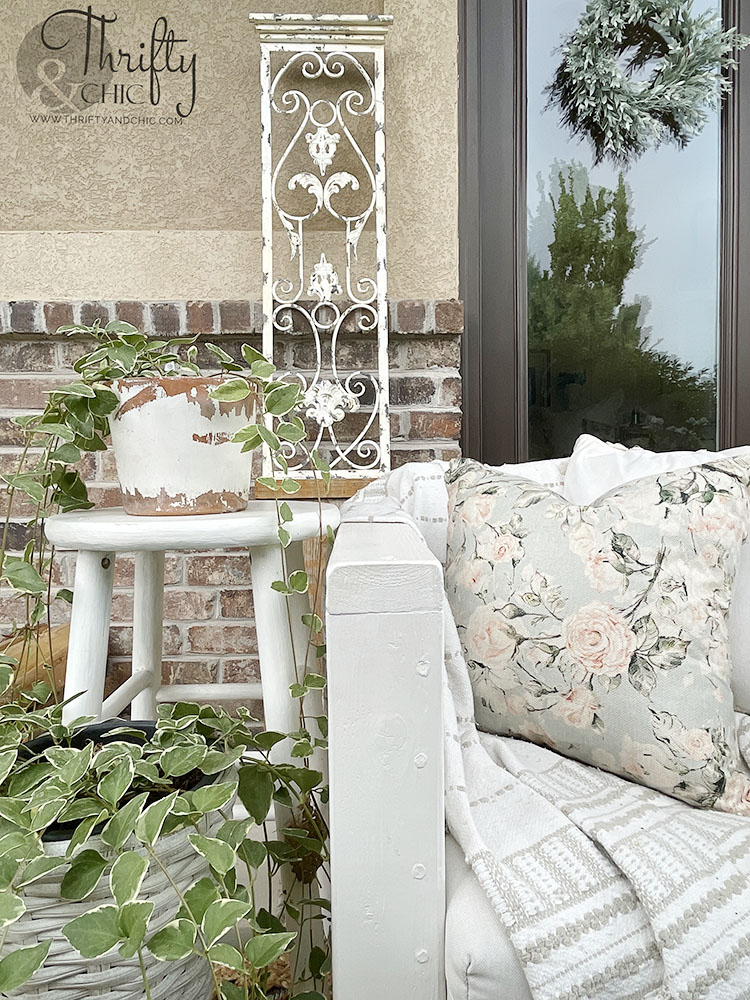
Now for the decor out here. As you may be aware, I am all for layers. Layers are what brings in the cozy factor to any space...and outdoor spaces should be included as well! I layered with multiple pillows, throw blankets, and even rugs. I then added some of my favorite vining outdoor plants. These ones are called Variegated Vinca Vine. The fact that any of these plants on my porch are alive still in August is crazy...and also shows that you don't have to have a green thumb to keep them going ;)
The chairs were a DIY project from years ago that are still going strong through all of our rough weather! You can see the tutorial for them here. Check that link out as well if you are curious about how my porch started off from the very, very beginning :) You can even see aging of my door back then too! I hope this paint holds up longer than the original paint did.
I conquered my daunting project, now it's your turn to do yours!
Disclosure of Material Connection: Some of the links in the post above are “affiliate links.” This means if you click on the link and purchase the item, I will receive an affiliate commission. Regardless, I only recommend products or services I use personally and believe will add value to my readers. I am disclosing this in accordance with the Federal Trade Commission’s 16 CFR, Part 255: “Guides Concerning the Use of Endorsements and Testimonials in Advertising.”


0 comments